Lessons from Open Water Crossings
Lessons from Open Water Crossings
My first open water crossing wasn’t really open water at all. But at the time, it felt big enough.
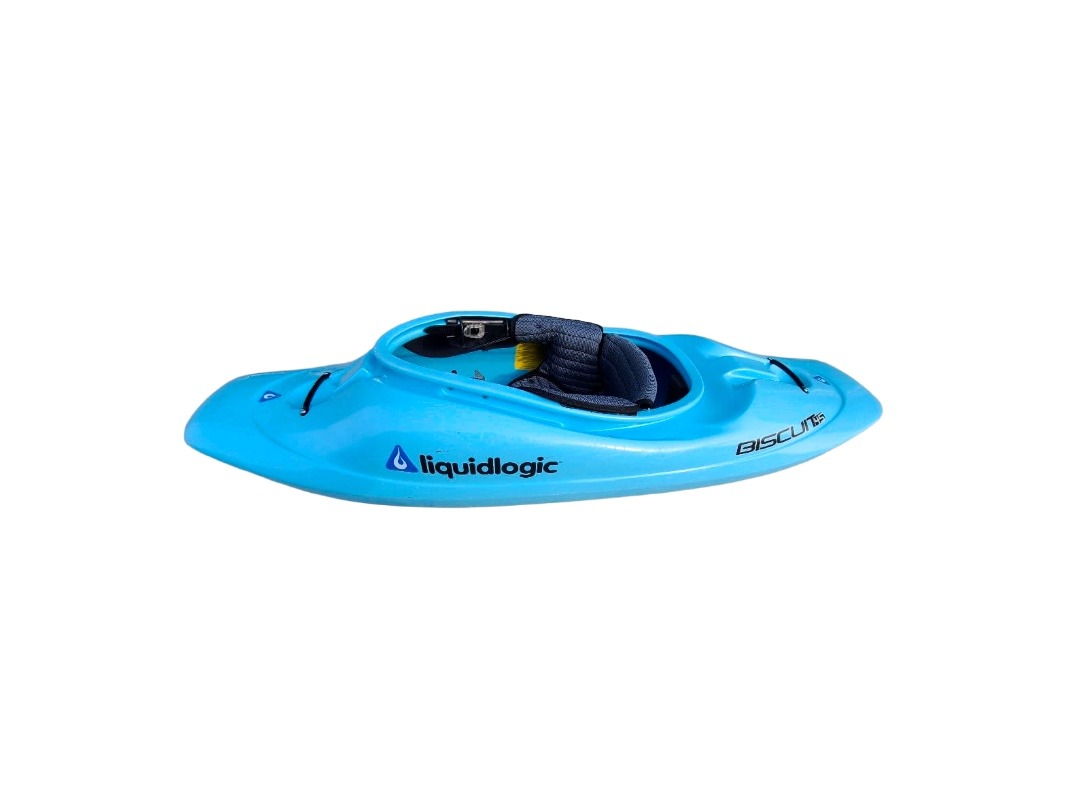
I was 19, working at Elemental UK on Swanpool Beach. I couldn’t drive and my usual transport was a bicycle but I’d recently picked up a Liquid Logic Biscuit 55 play boat and wanted it at work so I could use it before or after shifts. Not long before, I’d been on my CNTP and 4 Star sea kayak training with Lee Pooley in Devon, so naturally I decided the logical solution was to paddle it to work.
From my parents’ house I walked down to Mill Quay, planned to launch on the high water and let the ebb drag me out of the estuary and round toward Swanpool. It sounded simple enough. But as I approached the mouth near Black Rock, I remember very clearly feeling small. The ebb was starting to run properly, the water was moving with purpose and my six-foot baby blue play boat suddenly felt very insignificant in a big bit of water.
I also remember thinking, quite plainly, this might not be the smartest idea.
The current swirled me about a bit, but I made it round without any real issue. Still, it was the first time I’d felt that psychological shift – that moment where paddling stops being casual and starts feeling consequential.
That stretch of water at the Carrick Roads estuary mouth is still one I use a lot in coaching. It’s only about a mile across, but it’s a brilliant navigational challenge. You’ve got shipping to think about, transits to hold, tide to manage and if you run it at night it adds another layer entirely. It’s ideal for intermediate paddlers stepping up, or for aspiring Moderate Water leaders learning how to manage a group.
What’s interesting is how differently people react once they leave the shoreline.
When you’re following a coast, your brain is busy. You’re constantly adjusting your line, reading the land, noticing features. Open water strips all of that away. Suddenly the view barely changes, progress feels slow and for paddlers without that experience you can almost see motivation drop in real time. It’s not the distance that gets them – it’s the feeling of going nowhere.
The more crossings you do, the more you learn how to manage that headspace. But there are always lessons along the way.
A favourite quote from George Shaw of Sea Kayaking Isle of Man sums it up well recently after completing his Five Kingdoms challenge:
“If you want to hate kayaking, do a crossing.”
Perhaps a familiar feeling for anyone who’s completed a long open water crossing.
The Falmouth Triangle
In my early years working for Sea Kayaking Cornwall, I joined the winter guide training. One of the challenges that year was the Falmouth Triangle; about 26 nautical miles with an open-water section and we had only a few hours’ notice. The main advice was simple: time the Manacles to Gull Rock section with the tide.
That meant a 5am launch and not much sleep.
I woke up buzzing for it and had a double breakfast to prepare. We launched through surf at Swanpool and I managed to ship some water into the cockpit of the Tarantella I was paddling. Not loads – but enough that I noticed it. I told myself it wasn’t worth stopping for and carried on.
For a while everything felt fine. We were pacing well, taking short breaks, fuelling properly. But after a few hours I started getting irritated at the stops and wishing we’d just crack on. That was the first sign something wasn’t right.
I was getting cold.
Halfway across the open section it clicked. I’d been sitting in cold water for hours and was getting hypothermic. My thinking had gone foggy, my mood had dropped and I wasn’t doing the obvious thing to fix it.
The guides I was paddling with spotted it before I did. We landed on Towan Beach, emptied the boat, got me a hot drink and reset. I recovered enough to finish the triangle, but I felt rough for a good while afterwards.
It was a simple lesson: small preparation mistakes become big problems in open water.
If I’d just emptied the cockpit at the start, the day might have felt completely different but experiencing this was a great lesson in itself
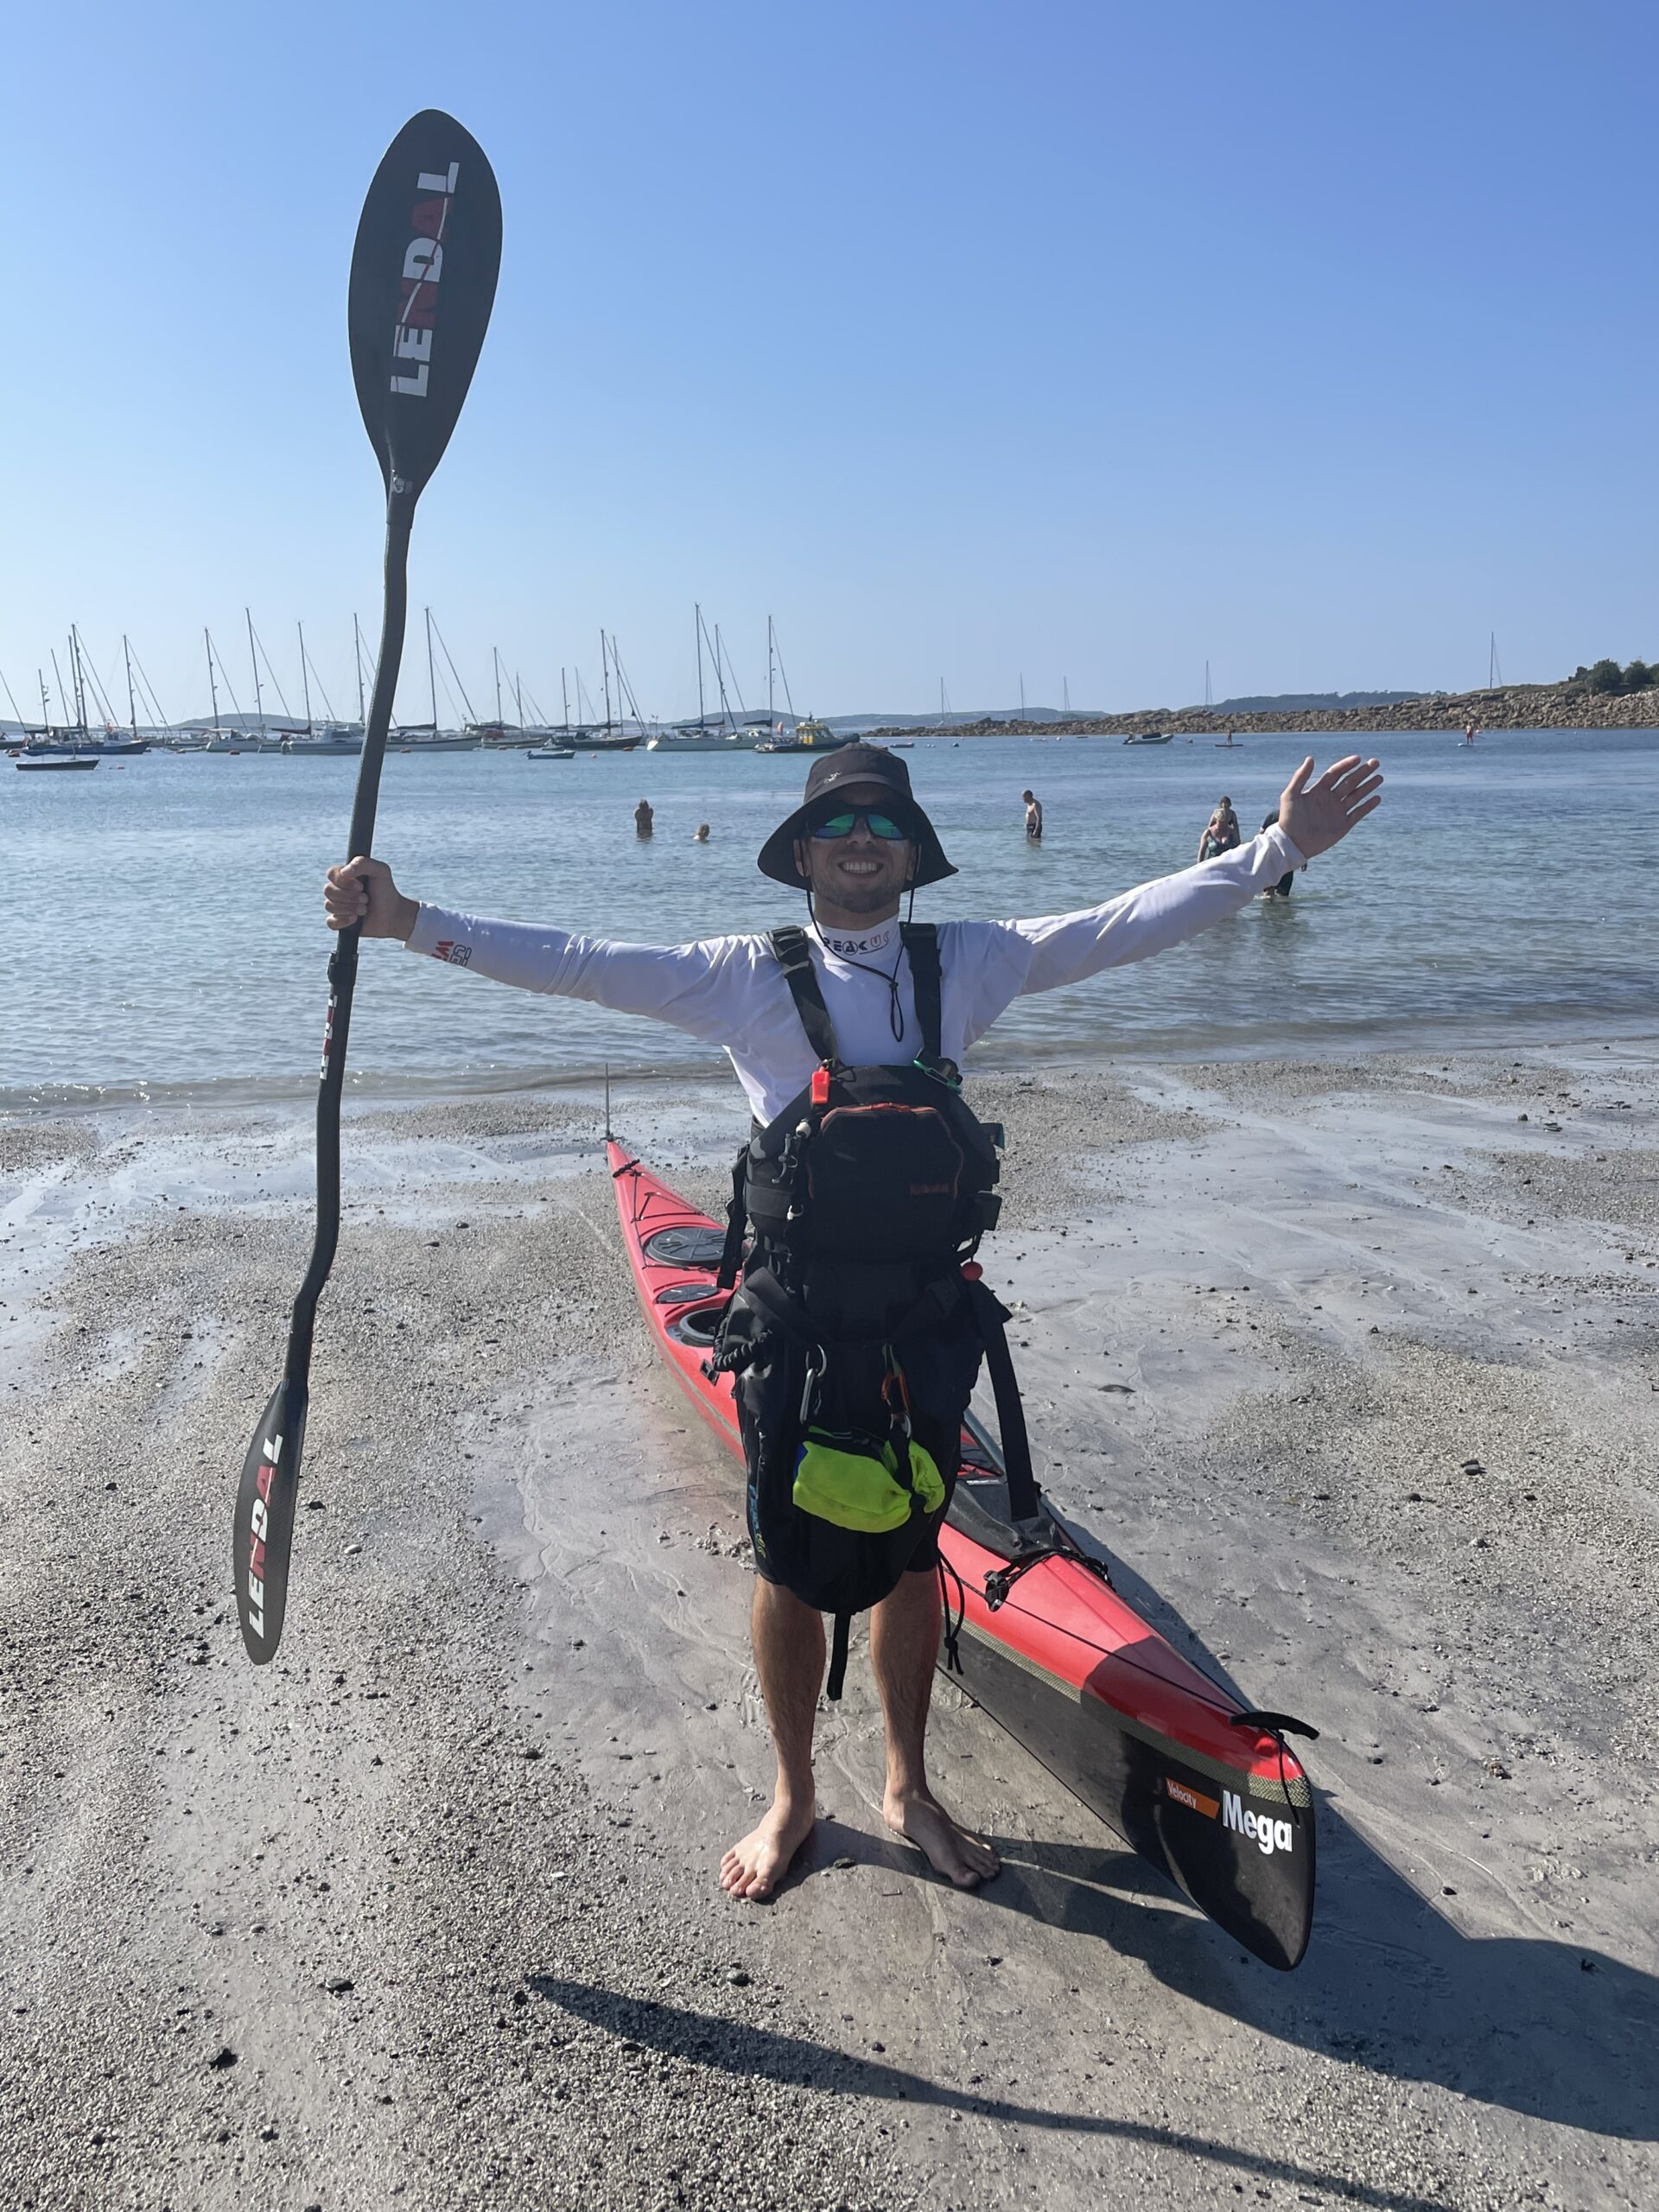
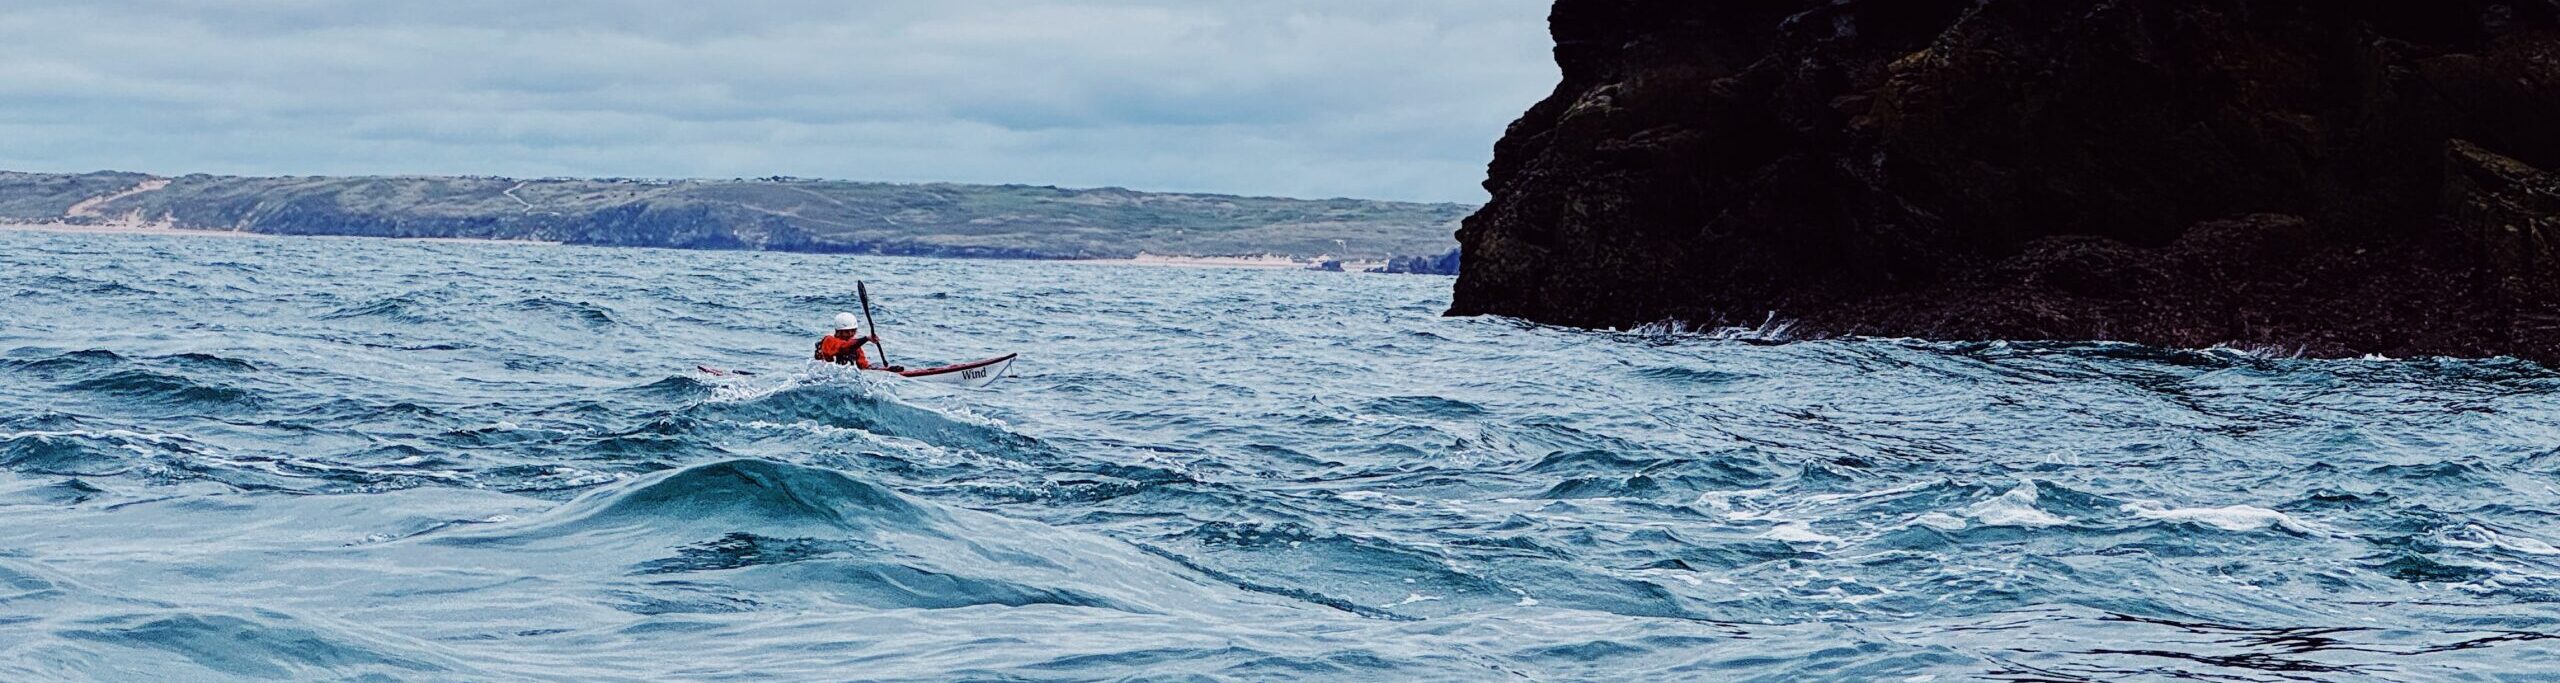
Isles of Scilly
One of my long-term goals after that was the crossing from Land’s End to the Isles of Scilly.
It’s a bit of a unicorn trip from Cornwall. You need the right weather window, enough fitness, the right tides and time off work – and lining those things up rarely happens on schedule. I’d watched opportunities come and go for years. High pressure would appear, then slide away. Wind directions would change. Something would always knock it off.
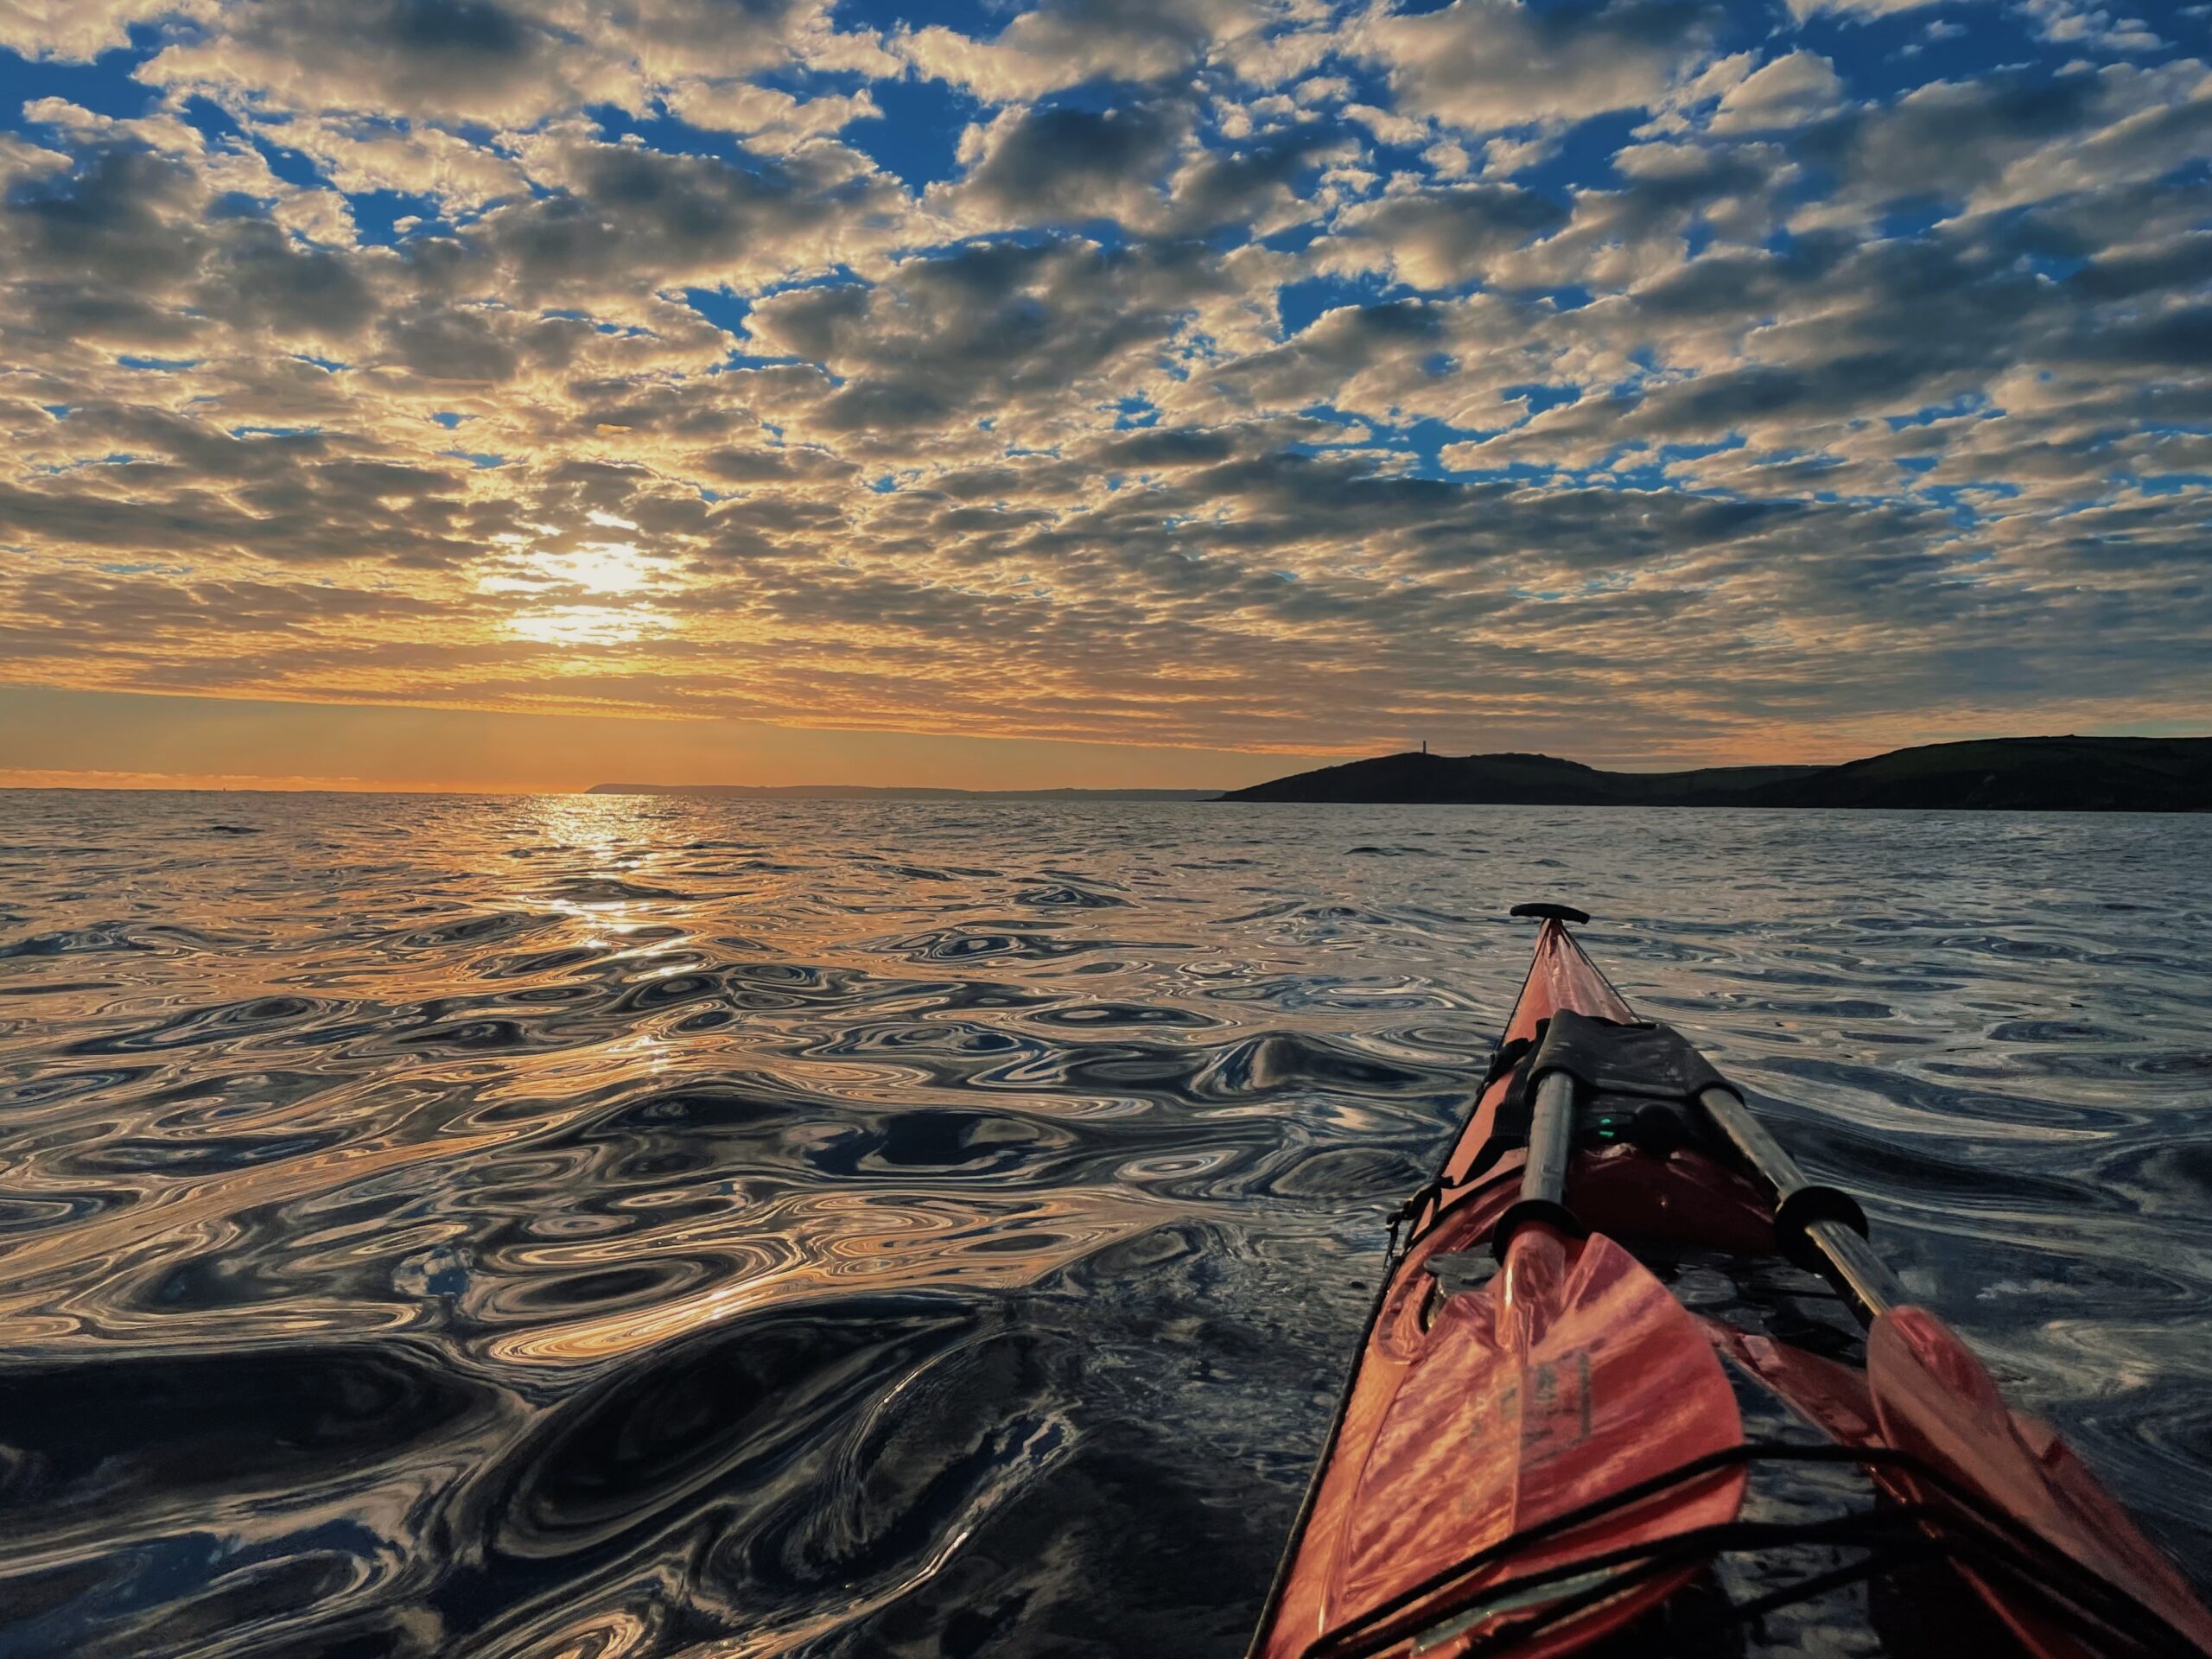
Eventually one week the forecast held steady. By Wednesday it still looked good. By Friday it hadn’t changed. So on Saturday morning I launched from Sennen Lifeboat Station around high water and rode the ebb out past Longships Lighthouse and into the blue.
Early on, a minke whale surfaced nearby. Later there were Risso’s dolphins, common dolphins and seabirds passing through. They broke up the horizon, which for long stretches was otherwise just water and sky.
For most of the crossing you lose sight of land entirely. The Isles of Scilly don’t really show themselves until the final couple of hours and until then it’s a proper head game.
It took about six and a half hours with a light easterly helping me along. I spent a fair bit of that time singing to myself, talking nonsense out loud, or putting on ridiculous accents just to stay mentally engaged.
Solo crossings can be surprisingly boring.
But landing on the sandbar at Great Ganilly – this strip of golden sand appearing out of nowhere was unforgettable. Even better was paddling in and surprising Geoff, Andy and James P from Sea Kayaking Cornwall, who were already over there and able to celebrate the crossing with me.
“James… I didn’t know you were working here next week. Did you get the ferry? Oh my god! You’ve paddled!”
Another lesson from that crossing was hydration. I’d taken four litres of water, assumed it would be plenty and still ran out before finishing. Hot, humid days catch you out faster than you expect, especially when you’re focused on maintaining pace.
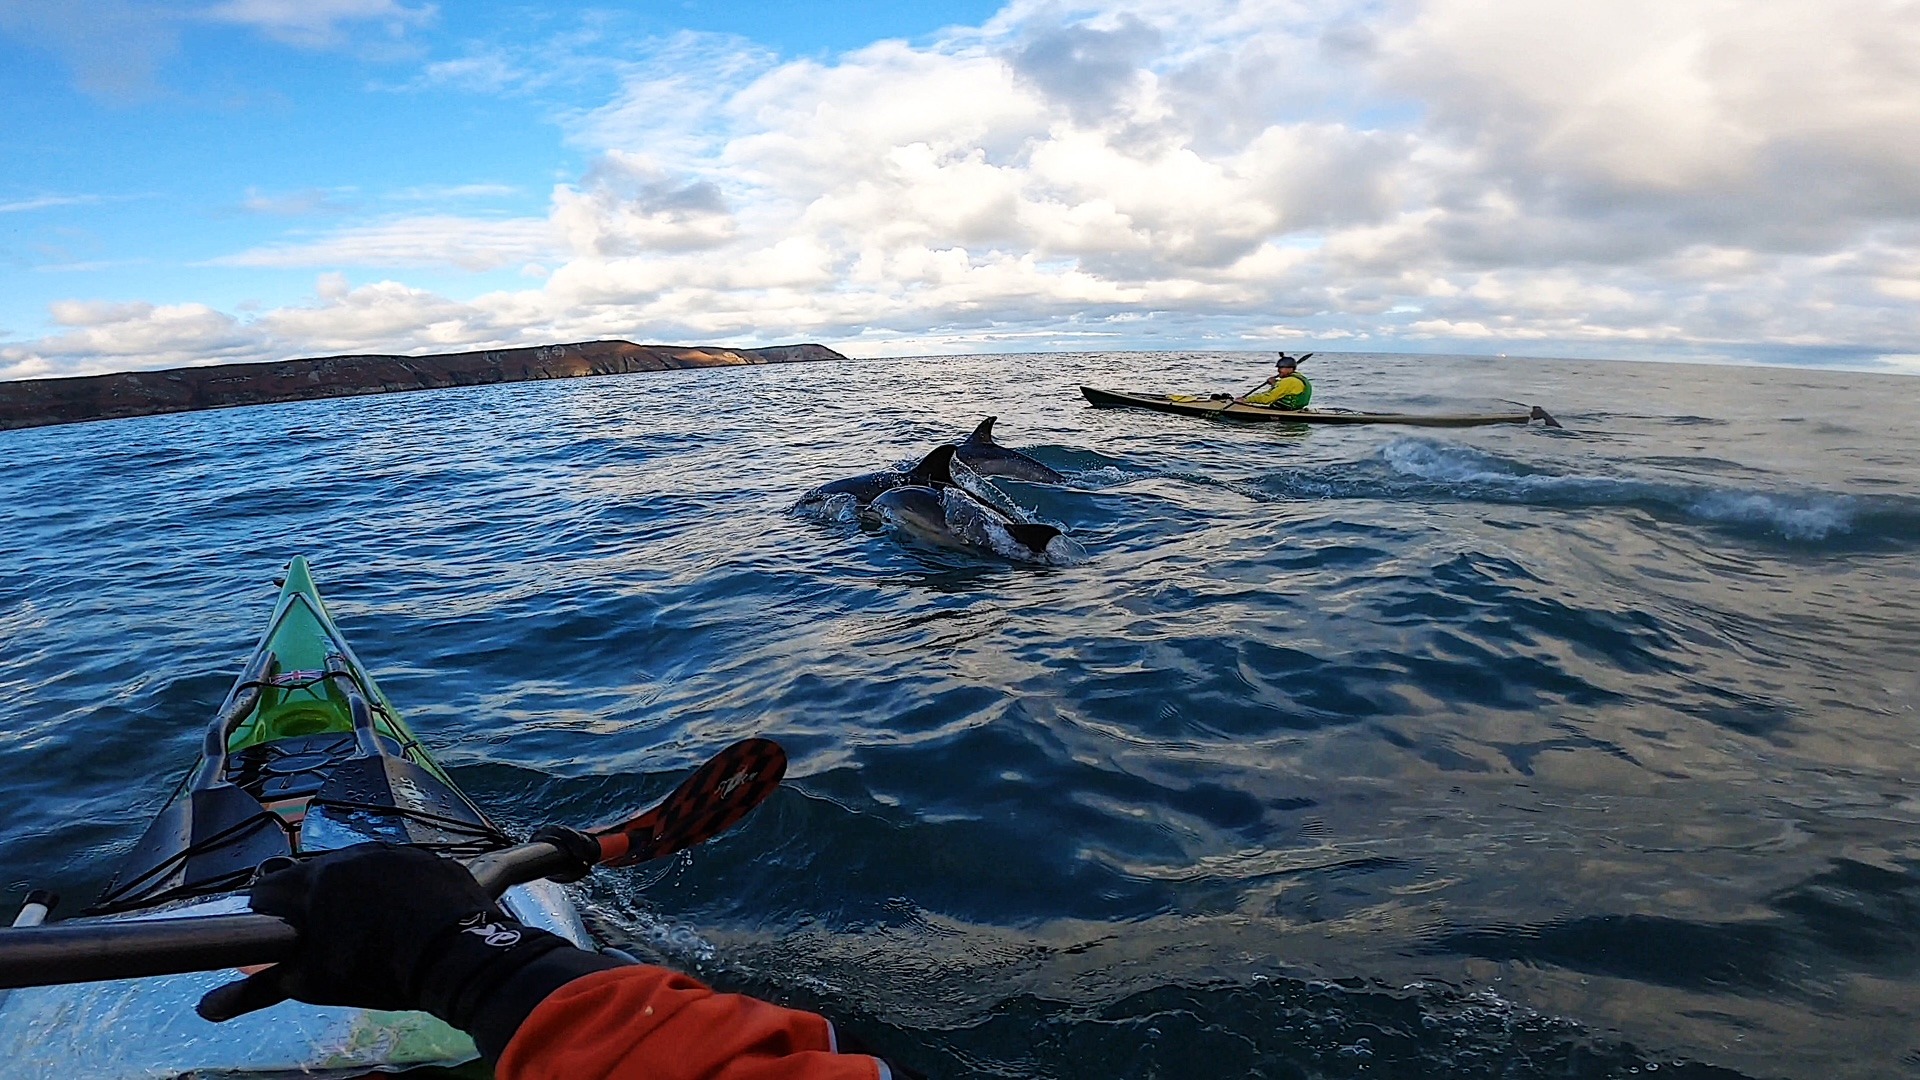
Lundy
A few years later I was looking for another challenge and had my eye on Lundy. The first decent high pressure didn’t arrive until late December. Ben was keen to join and after the Scilly crossing I was glad of the company.
We camped in the van the night before in freezing temperatures and launched from Lee Bay at 5am. Mort Point’s tide race sounded pretty lively in the dark but it behaved itself and we were rewarded with a brilliant sunrise. Unfortunately my headtorch popped out of it’s mount and disappeared into the sea.
We had a large pod of dolphins on arrival at Lundy, stretched our legs, grabbed some food, then got straight back in the boats. It was very much a type-2 fun day, dictated by the time of year.
The return leg was slower. The flood didn’t give us as much help as we’d hoped and Ben was managing a shoulder niggle, so we dropped the pace. By the time we hit Mort Point again we were back in darkness, paddling through the race under a full moon.
We landed exhausted. Hands barely working, getting changed was a mission. But we’d made it to Lundy and back in December, the long way, and it felt like a proper winter adventure.
That trip reinforced something simple: company changes everything on long crossings. We had stretches of silence, but also plenty of conversation and that shared experience made the open water feel smaller. When shipping moved inside Lundy on the return leg, we talked through plans calmly and kept awareness high. Every time that happens, I mentally rehearse my emergency options.
Closer to home
More recently I set myself a different kind of challenge: launch from Maenporth and just see how far I could get in a single day.
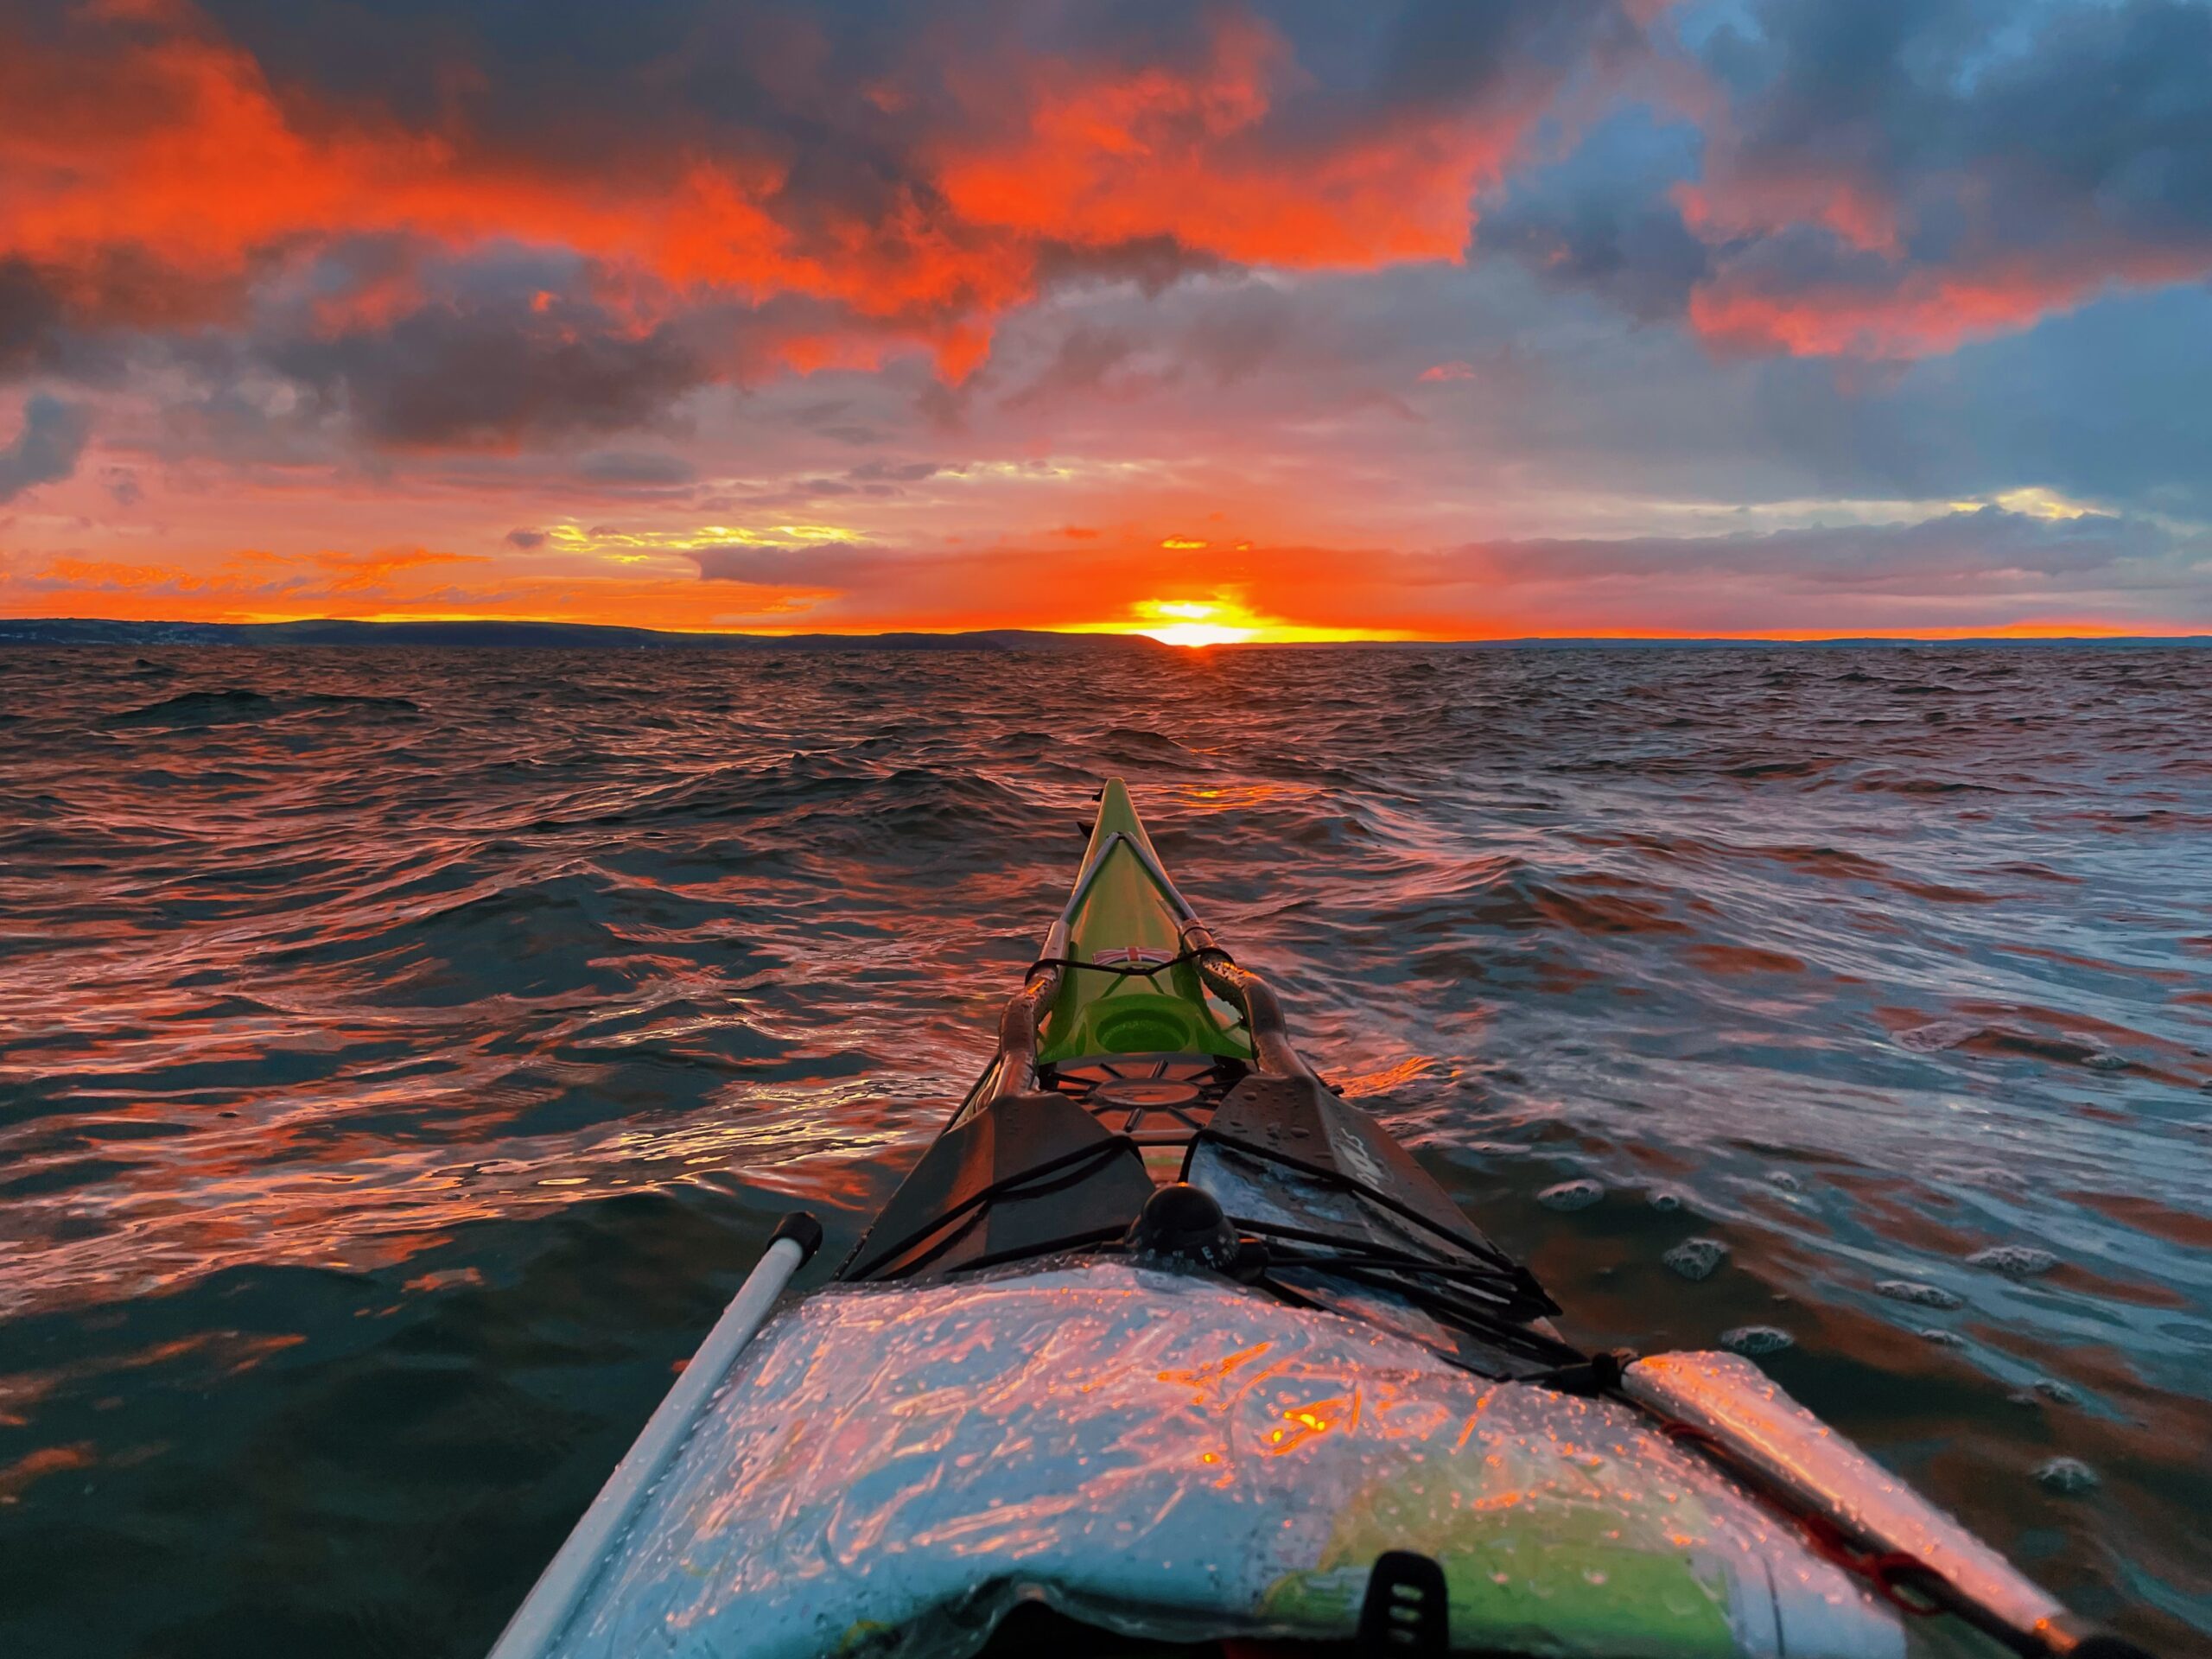
I’d worked hard leading up to it, probably harder than I should have and although work was going well I was running a bit low on energy. The first part felt great though. I was flying along the coast, linking sections I usually paddle with clients, enjoying the freedom of not being on the clock.
By the time I reached Mullion I still felt strong, so I pushed on and decided to make the crossing toward Land’s End. It added another big chunk onto what was already a long day.
Partway through, my mindset started to dip. Solo, there’s nowhere to hide from that shift. With others you can chat, distract yourself, share the load. Alone, it’s just you and the water.
I kept going, but when I couldn’t land at Lamorna I pushed further into the evening, eventually finishing in darkness while looking for somewhere suitable to get off the water. It worked out fine, but it was a reminder that pushing on can sometimes be the start of avoidable problems.
Preparation matters. So does honesty with yourself. After a few days off I was rewarded visiting a Cornish tide race in perfect conditions for the first time – a few hours of surfing and fun, well needed after the crossing a few days before.
Open water crossings have a way of exposing both strengths and weak spots. They test planning, mindset, hydration, pacing, clothing, navigation and sometimes just patience. You don’t always learn those lessons the easy way.
But finishing a crossing under your own power – whether it’s a mile across an estuary or a full offshore passage, brings a kind of satisfaction that’s hard to match.
It’s one of the reasons I keep going back for more.
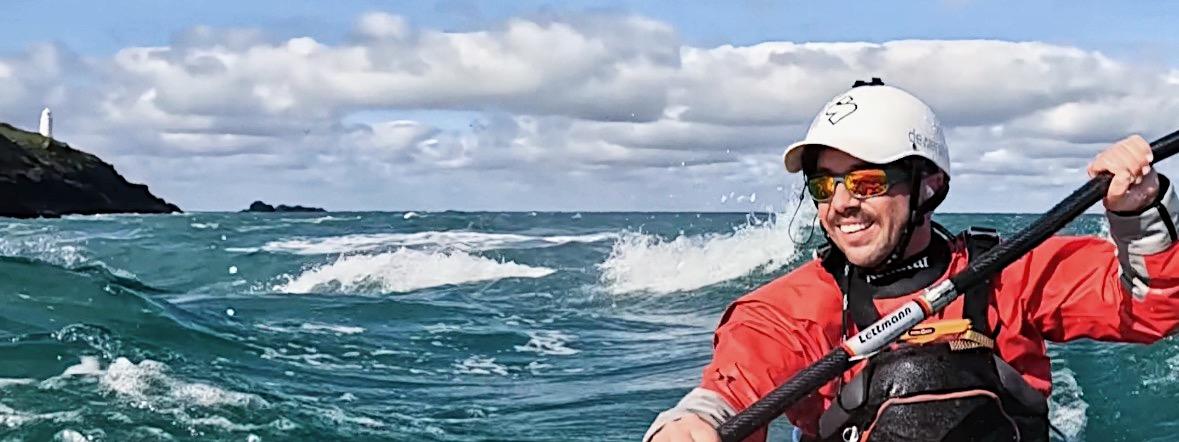
Trevose Head Tide Race – Ebb Tide - Testing New Camera Setup
With 4 knots of tide pushing against a solid 5ft westerly swell, Trevose Head felt like the perfect place to put a new setup to the test.
I’d not paddled it on the ebb before, so it was a chance to tick off two things at once.
Paddle the race and test a camera mount I’d been piecing together over the last few weeks.
Why Build a DIY Mount?
Like a lot of paddlers, I’ve spent years trying to capture what it actually feels like to be in a tide race or rough water.
And at times, I’ve been a bit underwhelmed.
Deck mounts often feel flat and while helmet cams are useful, they don’t always tell the full story. Multiple angles help but they still miss that sense of movement and scale.
The footage that really works tends to come from boom-style mounts. The ones that push the camera out and away from the kayak, giving that third-person perspective.
That’s where the inspiration came from:
- The Boom Master 3000 setup from River Kings
- Nick Butterfield’s stable sea kayak setup and rough water testing
As shown in Nick’s videos, commercial options like the Jackson Levator exist and they’re good. Long, rigid boom mounts produce more stable footage with less shake and a much better sense of perspective in rough water.
But they’re not cheap and they’re not always easy to get hold of in the UK.
So I built my own version, combining elements from both.
The Idea Behind the Mount
The goal was simple:
- Get the camera higher and further away from the kayak
- Keep it rigid enough to reduce shake
- Make it quick to set up and adjust on the beach
- And most importantly… make sure it doesn’t rip off in the impact zone
Most boom mounts work on the same principle. A fixed base with an extended arm gives you that elevated angle that transforms footage completely.
The challenge is making that system strong enough for real conditions.
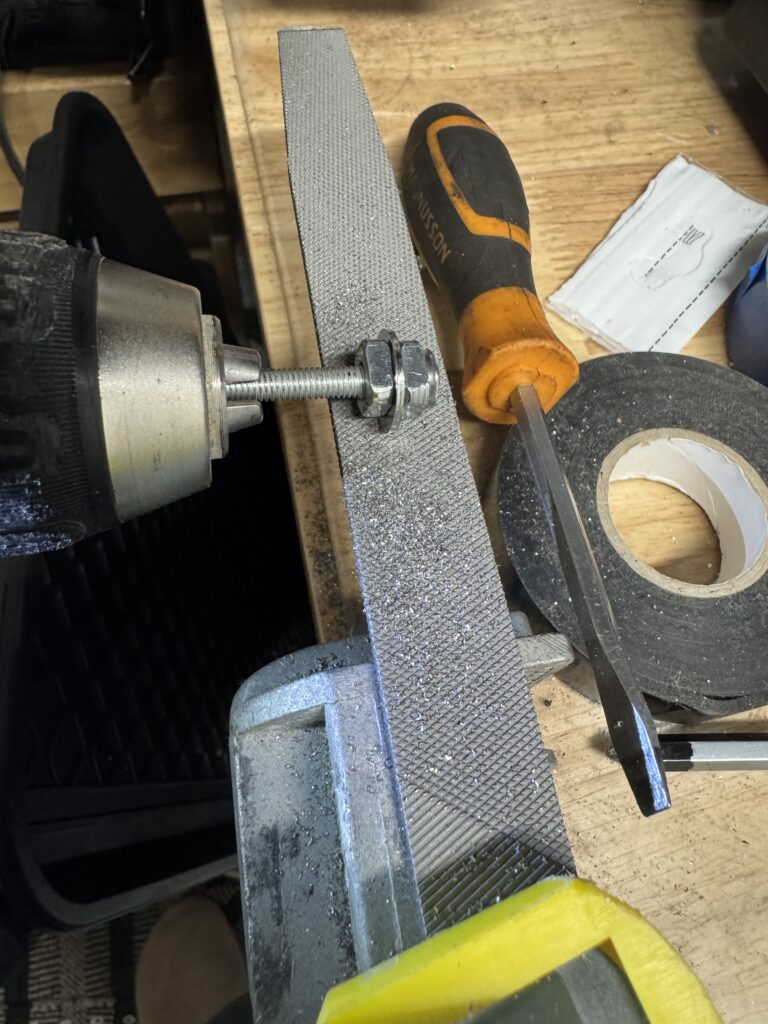
The Build
One of the biggest challenges wasn’t the design, it was sourcing the parts. (Parts list found at the bottom of the page).
Most of the reference builds, especially the River Kings version, are based around US hardware stores. While everything is technically available here, sizing doesn’t always match, so I ended up mixing UK and US components which didn’t always play nicely together.
One example was the internal stabilising washers. To get them to fit inside the aluminium tubing, I had to sand down the outer edge slightly. Not ideal, but it created a tighter, more secure fit.
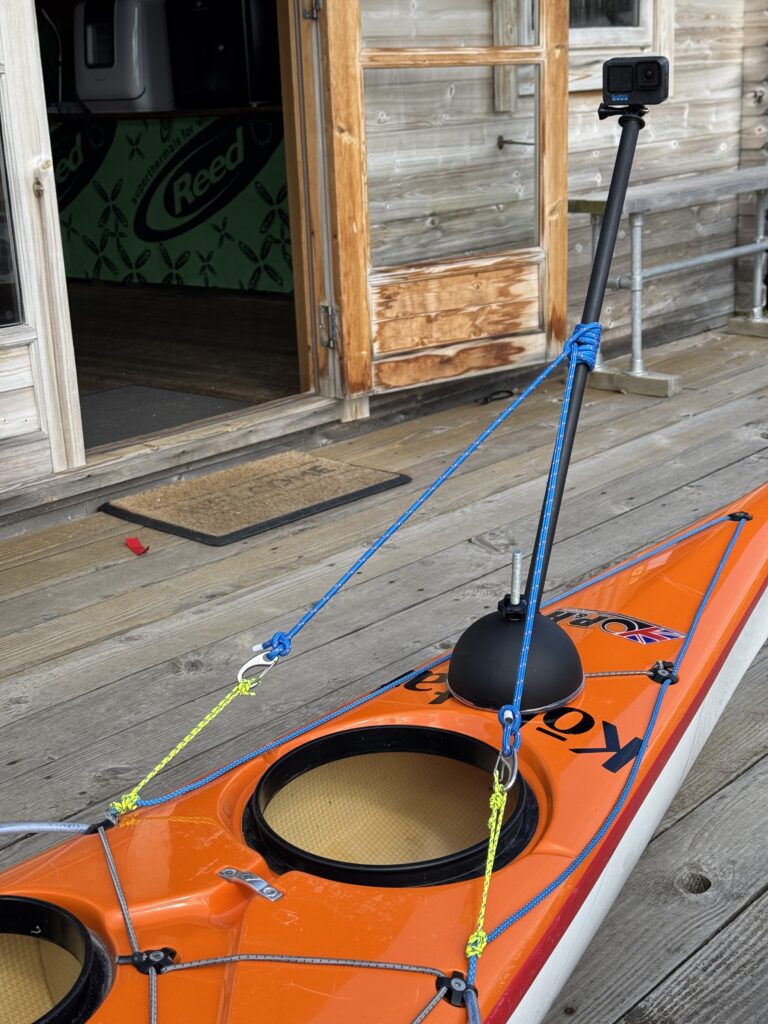
I made the boom slightly longer than the River Kings version, cutting the aluminium tubing to 23 inches. I can always shorten it later, but I wanted a bit more height to start with.
After struggling to find alternatives, I tracked down the same drain vent cap used in their build on Amazon and stuck with that, knowing it had already been tested.
My original hook bolt was too long, with the thread only running part way down, which meant I couldn’t get enough tension through the deck mounts. I swapped it for a shorter 116mm version with a full thread, which solved the issue.
To protect the deck from the cup mount, I used clear flexible tubing, the same kind often fitted to deck lines.
A key part of the setup I’ve taken from Nick is the stabilising system. The Prusik-based tensioning works really well. It’s simple, quick to adjust and keeps the pole under control in moving water.
Instead of the webbing loop used in his version, I’ve used two Dyneema loops tied under the deck fittings, similar to what I use for kayak sailing. They sit cleaner and feel more direct, but may put more load through the fittings over time, so that’s something to keep an eye on.
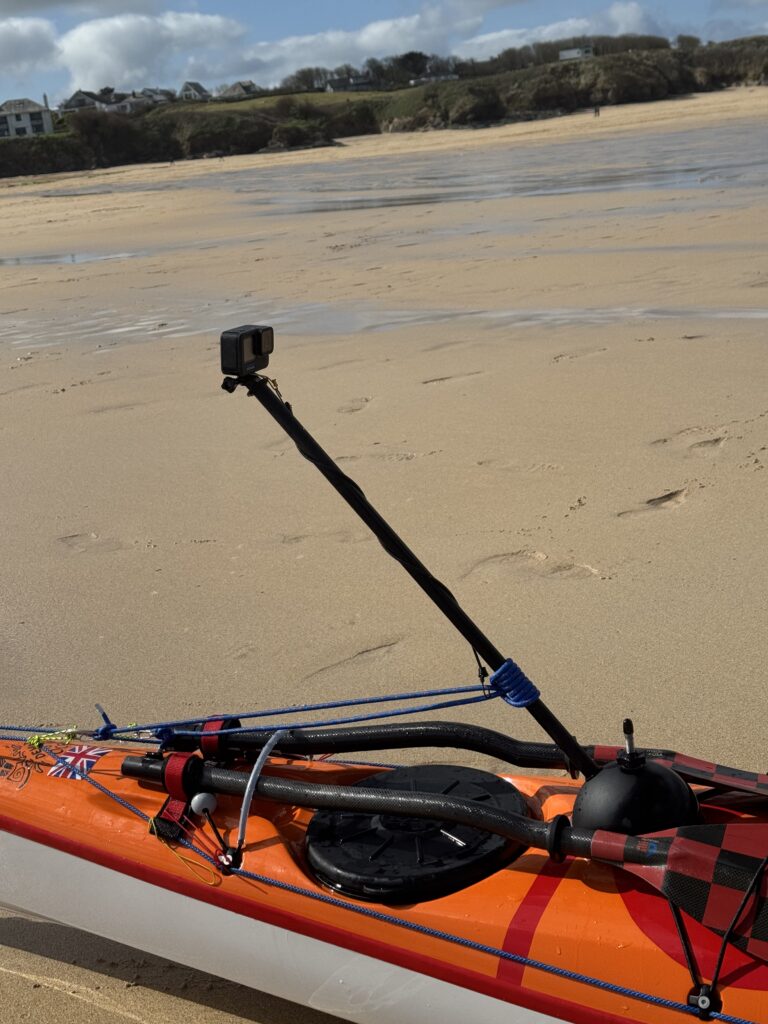
For mounting positions:
- Bow setup: attached via a Dyneema loop under the deck fittings
- Stern setup: clipped into the rear security bar on the P&H Aries, which worked really nicely
Both options give different angles and it’s useful being able to switch depending on conditions and what you’re trying to capture.
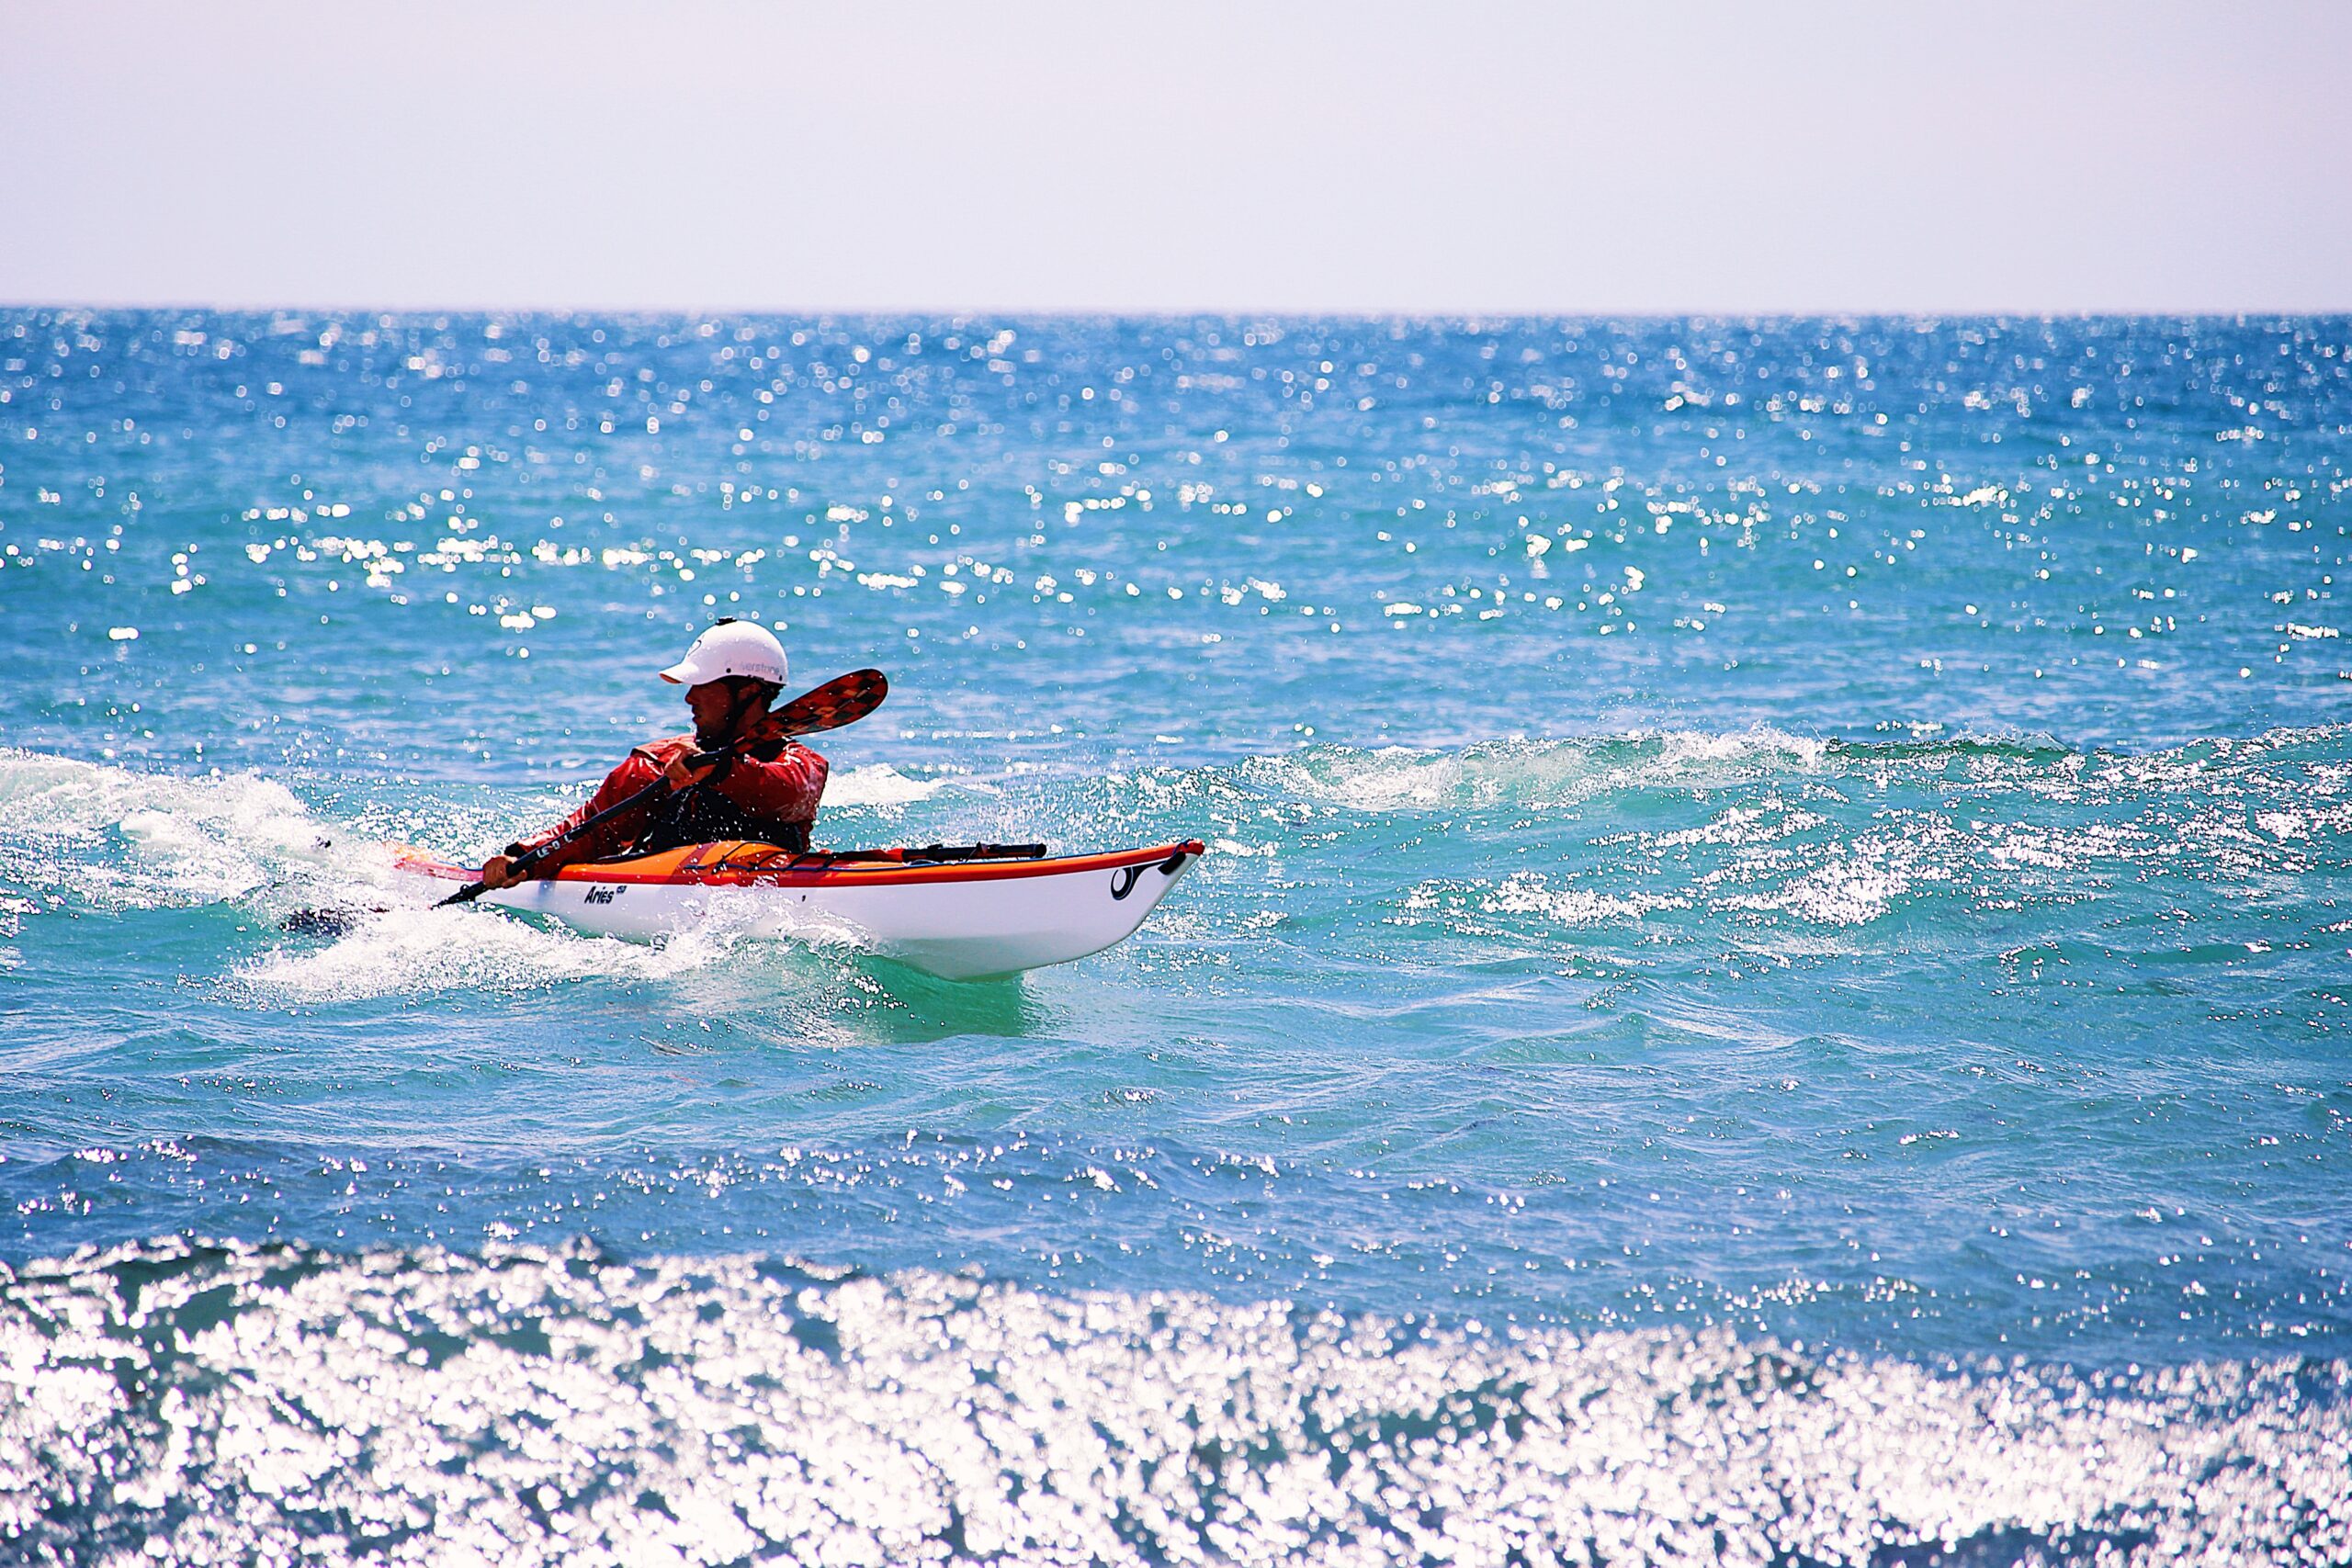
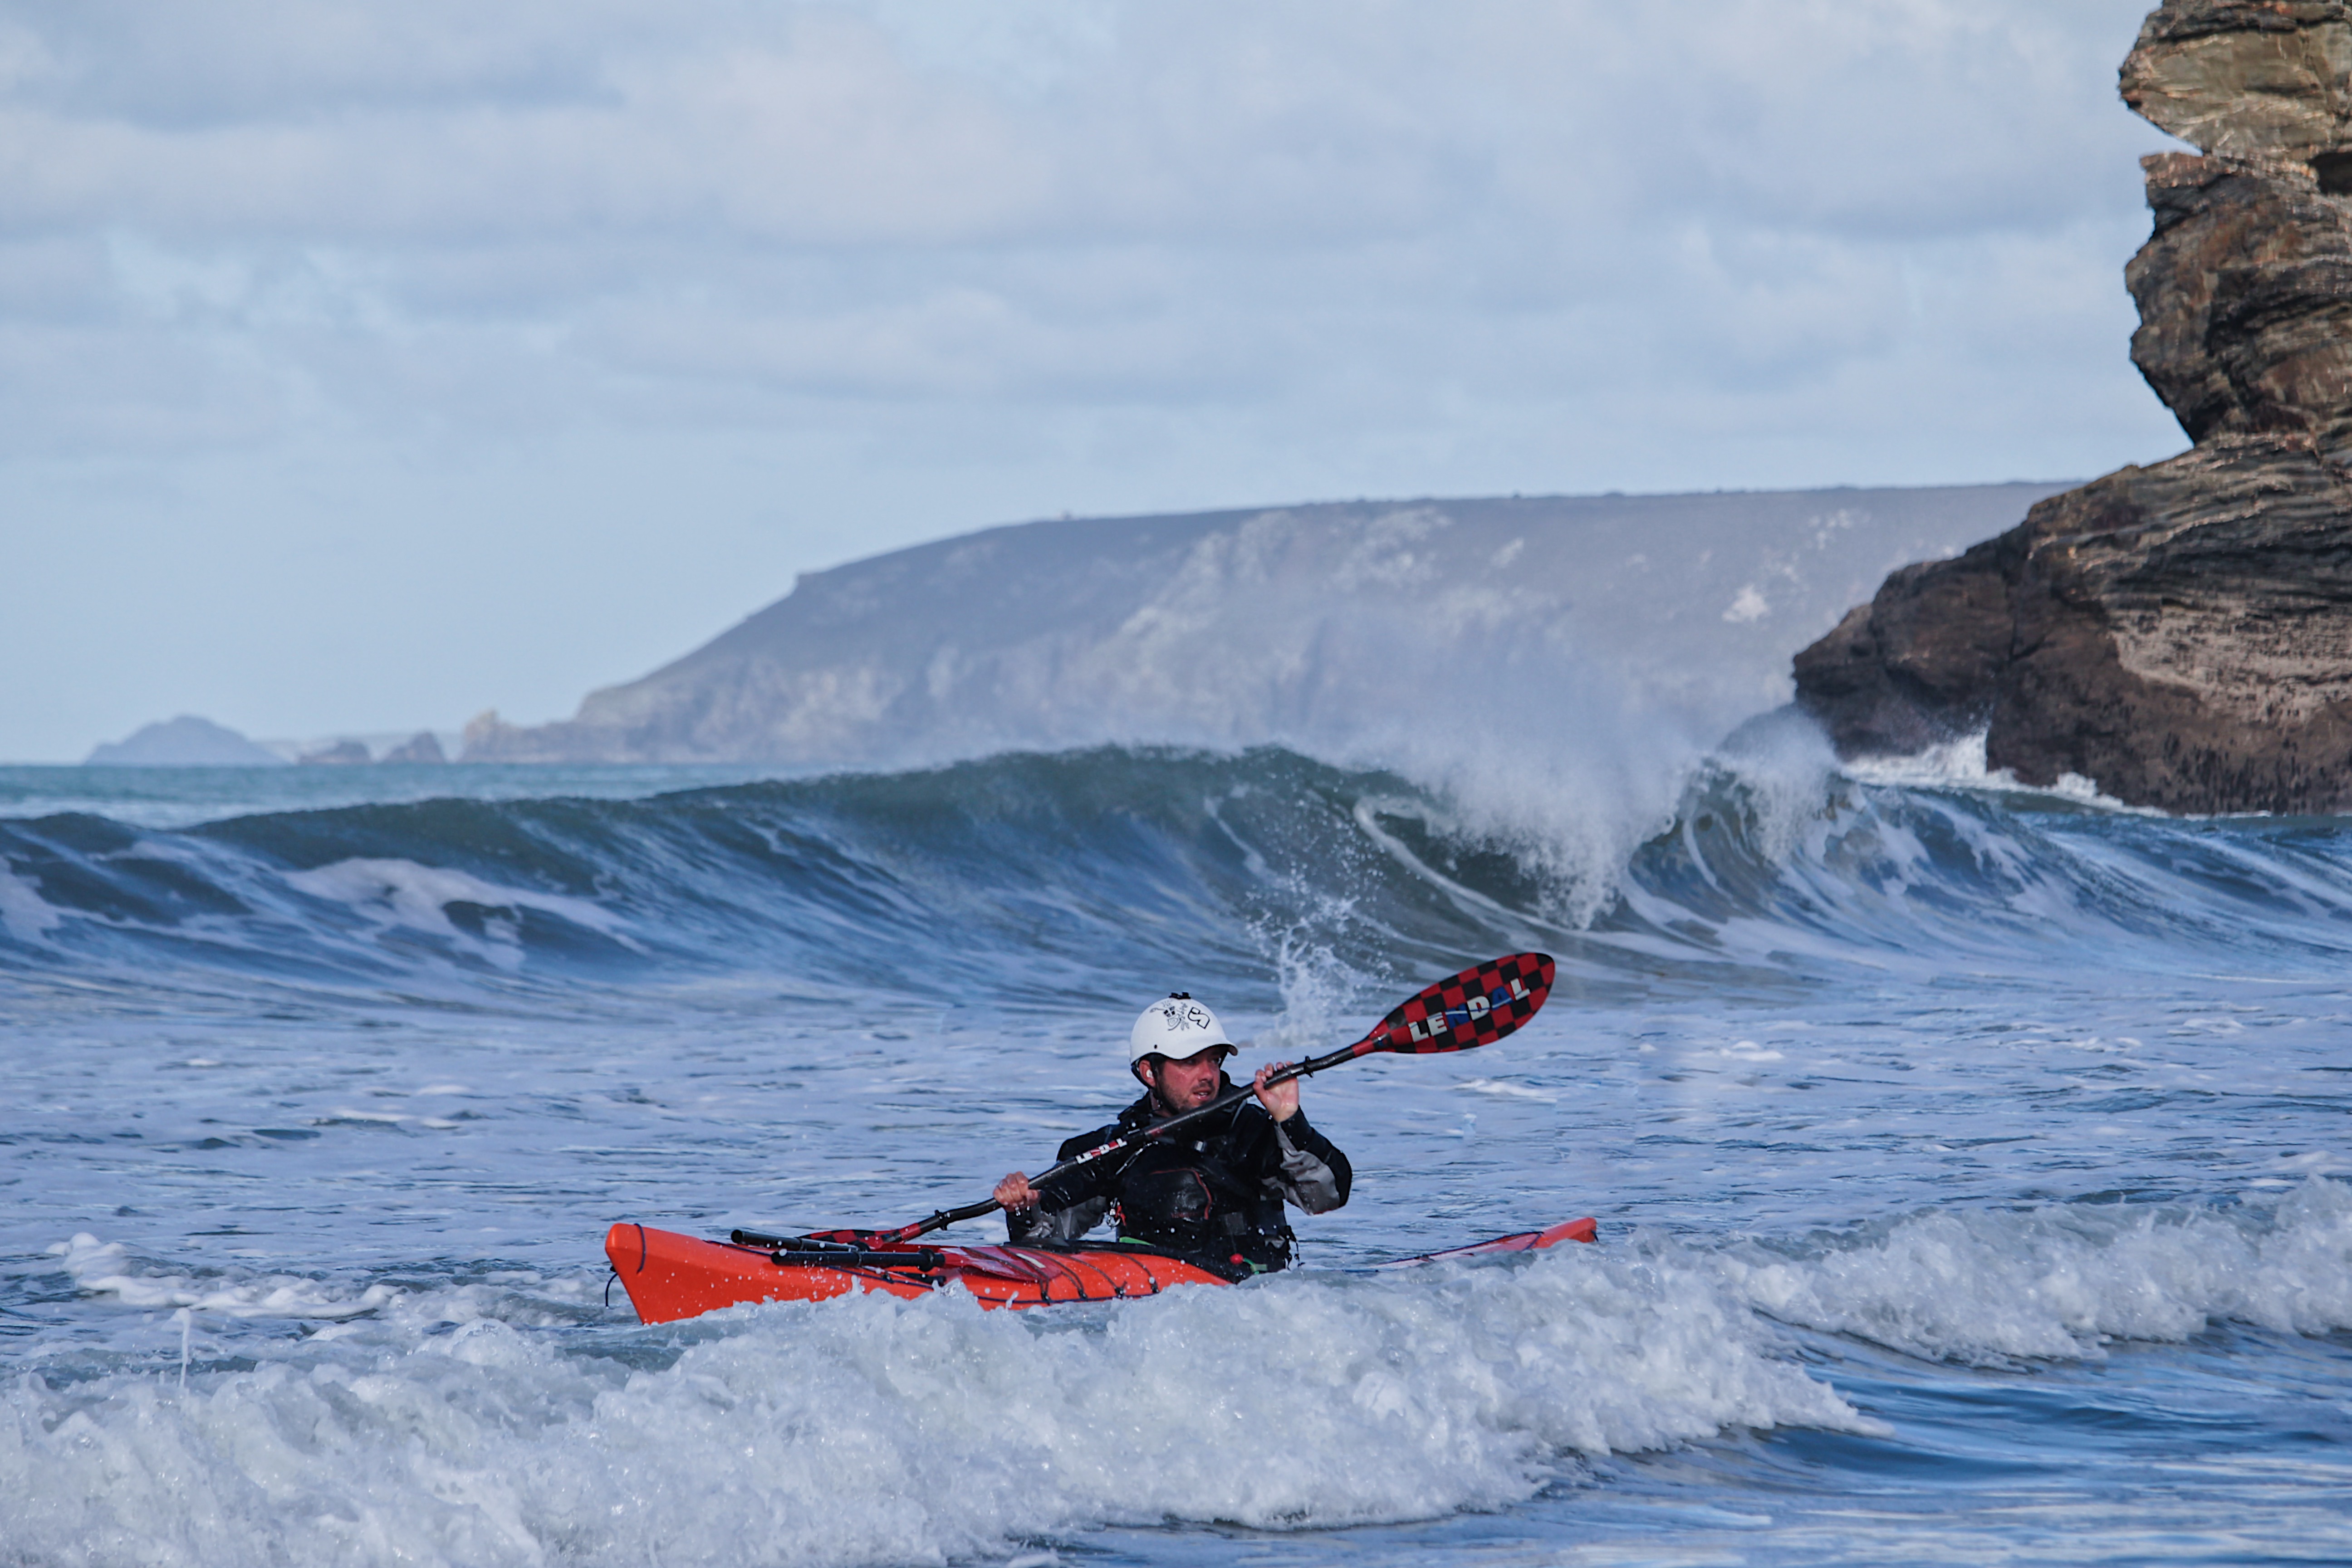
Putting It to the Test
Trevose on the ebb delivered.
The race was building nicely. Big technical water. Fast-moving, breaking sections, enough power to make things interesting and some surf zones to launch and land in.
Exactly what I wanted.
The mount held.
No wobble. No slipping. No awkward angles.
And most importantly, the footage actually started to look like what it felt like to be there.
You can see the speed of the water. The movement of the kayak. The scale of the features.
What Worked and What Needs Considering
What worked:
- The extra height and distance from the kayak made a massive difference
- The rigidity reduced vibration more than expected
- It stayed secure, even punching through waves
What needs consideration:
- Depending on placement, the mount could get in the way for a roll, a rescue or a self rescue. This setup is very much skill and environment dependent and needs to be used with that in mind.
- Modern deck fittings are designed to deal with a lot of stress but repeated pressure may cause the fitting to flex, break or loosen.
- As mentioned in the River Kings video, it’s worth trimming the hook bolt down once you’re happy with the fit. Even with a rubber cap, leaving it too long could create an unnecessary hazard.
Even small changes in camera position can completely change the feel of the shot. Sometimes just a few centimetres makes the difference between average footage and something that really captures the moment.

Why This Matters for Sea Kayakers
Capturing it properly helps tell that story.
Not just for social media but for learning. Reviewing lines. Seeing how you move through water. Understanding what’s actually happening beneath you.
Watch the Setup + Footage
DIY Tutorial from River Kings:
https://www.youtube.com/watch?v=eVSwUE1vcRY
Nick Butterfield’s setup:
https://www.instagram.com/reel/DVrz2DMiQLS/?utm_source=ig_web_copy_link&igsh=MzRlODBiNWFlZA==
My Videos:
Trevose Head – https://www.youtube.com/watch?v=DJTER7tvgB0
Greenland Rolling – https://www.youtube.com/watch?v=iIHtxt6KW8o
Parts Used
I’ve purchased some of these bits in multiple quantities, if you’re local or attending a course at SKC and looking to build your own, let me know and I may be able to help you out with some of the smaller parts!
- Oatey Mushroom Vent Cap: https://amzn.to/4sra2uf
- M10 Stainless Steel Hook Bolts: https://amzn.to/4snPsuI
- Round Rubber End Caps: https://amzn.to/4t4gOY8
- M10 Star Knobs: https://amzn.to/4e8R8Vu
- GoPro Tripod Mount: https://amzn.to/4tExqpd
- Aluminium Tubing: https://www.aluminium-online.co.uk/product/3-4-x-16swg-aluminium-round-tube/
- Threaded Bar 1/4-20 UNC x 36inch: https://www.accu.co.uk/imperial-threaded-bars/355435-HTB-1-4-20-36-A4
- 1/4 inch Flat Washers Stainless Steel (slightly too large, require sanding: https://www.accu.co.uk/imperial-flat-washers/37108-HPW-1-4-A2
- 1/4-20 UNC Imperial Nylon Locking Nuts: https://www.accu.co.uk/imperial-hexagon-nylon-locking-nuts/36951-HNN-1-4-20-A2
Some of the links above are affiliate links, which means I may earn a small commission if you choose to buy through them, at no extra cost to you.
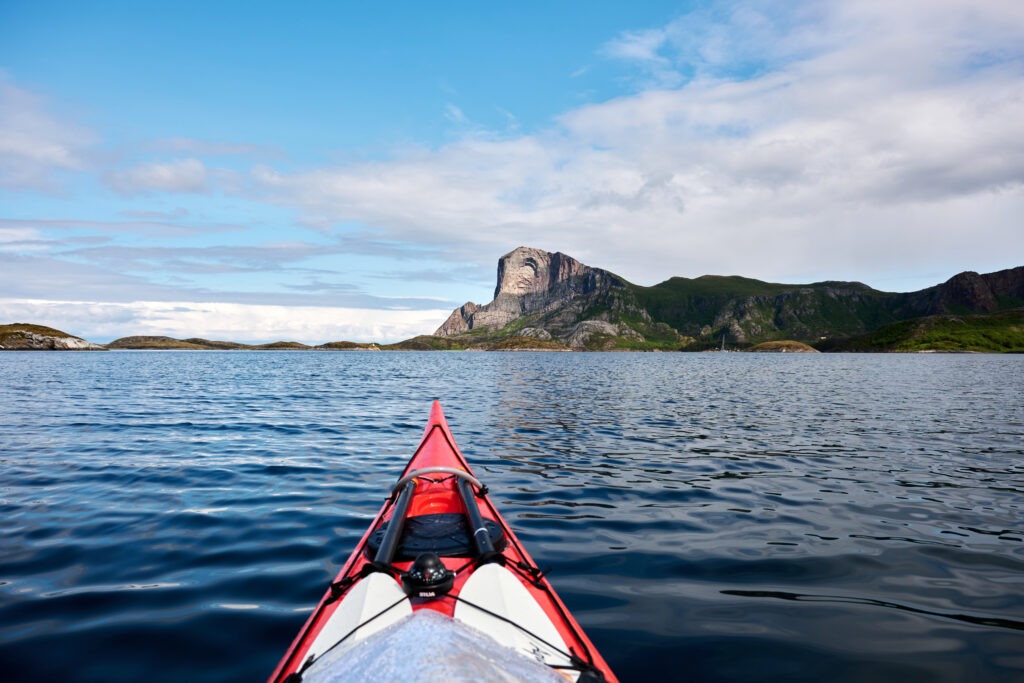
Kokatat - Solo Sea Kayaking Norway's Helgelandskysten Coast
Shortly after last year’s trip to Helgelandskysten, I wrote a blog for the Kokatat website and they’ve recently published it! It’s a reflective account of the journey that I still really enjoy looking back on.
This June, I’m heading back – teaming up with Nordic Paddling, joining Rasmus and a great expedition team.
I’ve no doubt it’ll be a completely different experience and I’m really looking forward to it.
Check out the blog on the Kokatat page below.
Solo Sea Kayaking Norways Helgelandskysten Coast
The Midday Rule - Calculating Spring / Neap Tide for Falmouth, Cornwall
Kayak Hacks
The Midday Rule – Calculating Spring / Neap Tide for Falmouth, Cornwall – a quick reference tool.
Back in my early days coaching for Sea Kayaking Cornwall, Simon Osborne (now of Online Sea Kayaking) introduced me to this brilliant quick reference tool.
Based on Falmouth tide times:
-
Low water at midday = Peak Spring Tide
-
High water at midday = Peak Neap Tide
This is a fantastic “rule of thumb” when planning a trip. For example, if I see a 10:00 am low water, I know immediately that we are building towards a Spring tide, even without a full tide table or internet access.
There is likely a rule for your local area too (provided it is semi-diurnal). Take a look at your local tide table and see which timings match the peak Springs and Neaps throughout the year.
Check it for yourself here: Falmouth Tide Calendar
Pro Tip: Is it foolproof? Almost! It’s a very reliable indicator for Falmouth, but keep these two things in mind:
-
British Summer Time: Remember that in the summer, the “Midday” rule shifts to 1:00 PM because our clocks have moved forward but the sun (and the tides) haven’t!
-
Weather: A big Atlantic depression (low pressure) can push the water in faster and higher, which can slightly shift these “fixed” timings.
The Bottom Line: Use this rule to get your bearings instantly but always double-check your official tide app or almanac before committing to a long crossing!
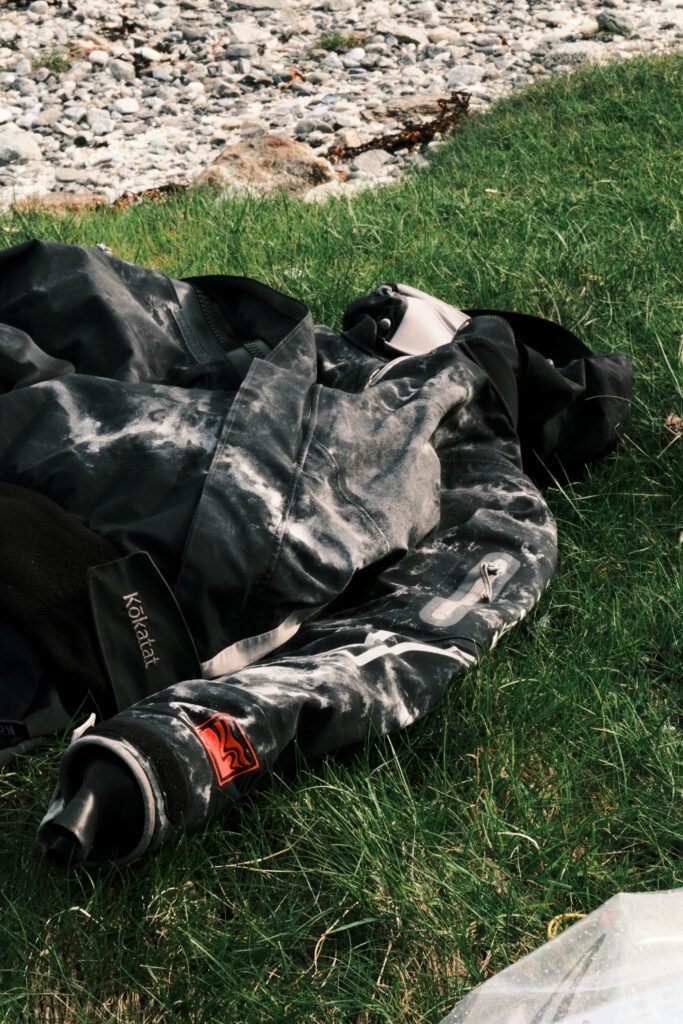
Kokatat Meridian or Odyssey for Sea Kayaking? Some reflections after time in both
I wrote this a few years ago to help sea kayakers choose between these two suits. Since then, Kokatat has evolved and they now offer custom drysuits in their updated Hydrus material, a decision to help navigate a PFAS Free DWR. However, many of these observations remain just as relevant today. I hope this guide helps you decide whether a whitewater or sea kayak specific drysuit is the right tool for your next adventure.
Kokatat Meridian or Odyssey for Sea Kayaking? Some reflections after time in both.
I’ve spent a lot of hours on the water in both the Kokatat Meridian and Odyssey drysuits. Over the years, they’ve taken me through tide races, long crossings, rescues, rough landings and the calm glassy days in between. Both are excellent suits reliable, breathable and built to take a beating but they’ve got different personalities and those differences start to matter the more time you spend in them.
The Meridian was my first real drysuit and it’s still one I trust completely. It’s clean and simple Gore-Tex Pro throughout, latex gaskets, integrated socks, neoprene over-cuffs and an adjustable overskirt that seals well with the deck. It’s a snug, athletic fit that moves easily when you’re paddling hard or climbing over rocks. I’ve worn it for surf landings, whitewater coaching and big tidal days off the coast. If you’re switching between disciplines or just want one suit that covers a lot of ground, the Meridian nails it.
The Odyssey builds on that same solid base but adds features that are clearly aimed at sea kayakers. You’ve got the removable hood, which is brilliant when you’re sat in wind, rain or spray for hours. The fleece-lined collar adds warmth on cold starts. There are extra pockets for snacks, tools and whatever else ends up stuffed in there on a trip. It also comes with internal suspenders, which I thought were a bit of a gimmick at first – until I wore it all day and realised how much more comfortable it makes things when the zip is down off the water.
One small detail that stood out straight away – the Odyssey fits a little roomier than the Meridian in the same size. That’s great if you’re layering up for cold conditions or just want a bit more freedom to move. As a result of the extra features and material the Odyssey feels a little heavier than the Meridian.
One thing that sets both suits apart from a lot of others is the ability to go custom. Colour might seem like a cosmetic choice, but in colder conditions I’ve found black feels noticeably warmer – especially on windy beach days or shaded launch spots. It soaks up just a little more warmth and dries off fast between sessions. It also happens to look sharp, which never hurts.
The Meridian can also be ordered with internal suspenders and I’d recommend it. They make a surprising difference on longer days. Being able to unzip the top half and keep it sitting comfortably at the waist is a small luxury when you’re grabbing lunch on a headland or sorting out kit on the beach. It’s not something I thought I’d care about but once you’ve had it, you’ll miss it if it’s not there.
So which one’s best? Honestly, it depends.
If you want a do-it-all suit that handles whitewater as well as sea kayaking, the Meridian is a brilliant choice. It’s streamlined, reliable and built to last. For dynamic environments, I love the slim neck and hoodless design of the Meridian. It ensures my field of view remains totally unobstructed, which is vital when you’re constantly scanning the water for features or checking on your group.
If you’re spending long days in a sea kayak, especially in exposed or changing conditions, the Odyssey feels like it was made for the job. Those added comfort features make a difference when you’re out there for hours and you’ll be glad of the storage, reinforcements and hood when the weather turns.
For me, I still use both. The Meridian’s perfect when I’m running courses that blend sea and surf, or if I’m hopping between environments. When I’m heading out for a big day on the coast – or a few days the Odyssey is the one I zip up.
They’re both serious pieces of kit. It just comes down to how and where you paddle.
One of a few UK Suppliers – Pete at Whitewater The Canoe Center
Reed Chillcheater - Aquatherm vs Aquatherm Fleece Tops Review
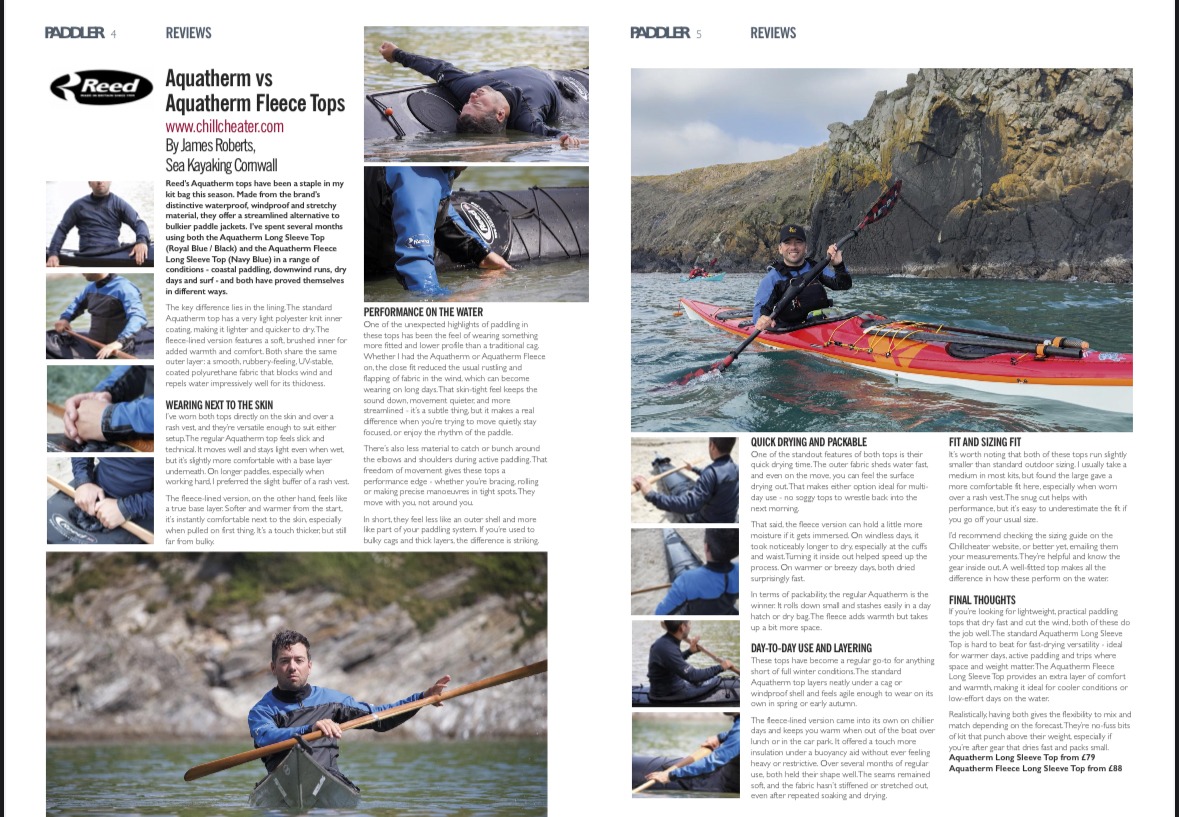
Back in 2025, my friends Chris and Jane from Reed Chillcheater asked me to test and write a comparison review of their products for the excellent Paddler Magazine. We chose the Aquatherm tops in both the standard and fleece versions, for a head-to-head comparison. The whole process was a blast, from putting the kit through its paces to formulating my thoughts and capturing high-quality photos for the magazine. You can find the original review below.
Reed Chillcheater – Aquatherm vs Aquatherm Fleece Tops Review.
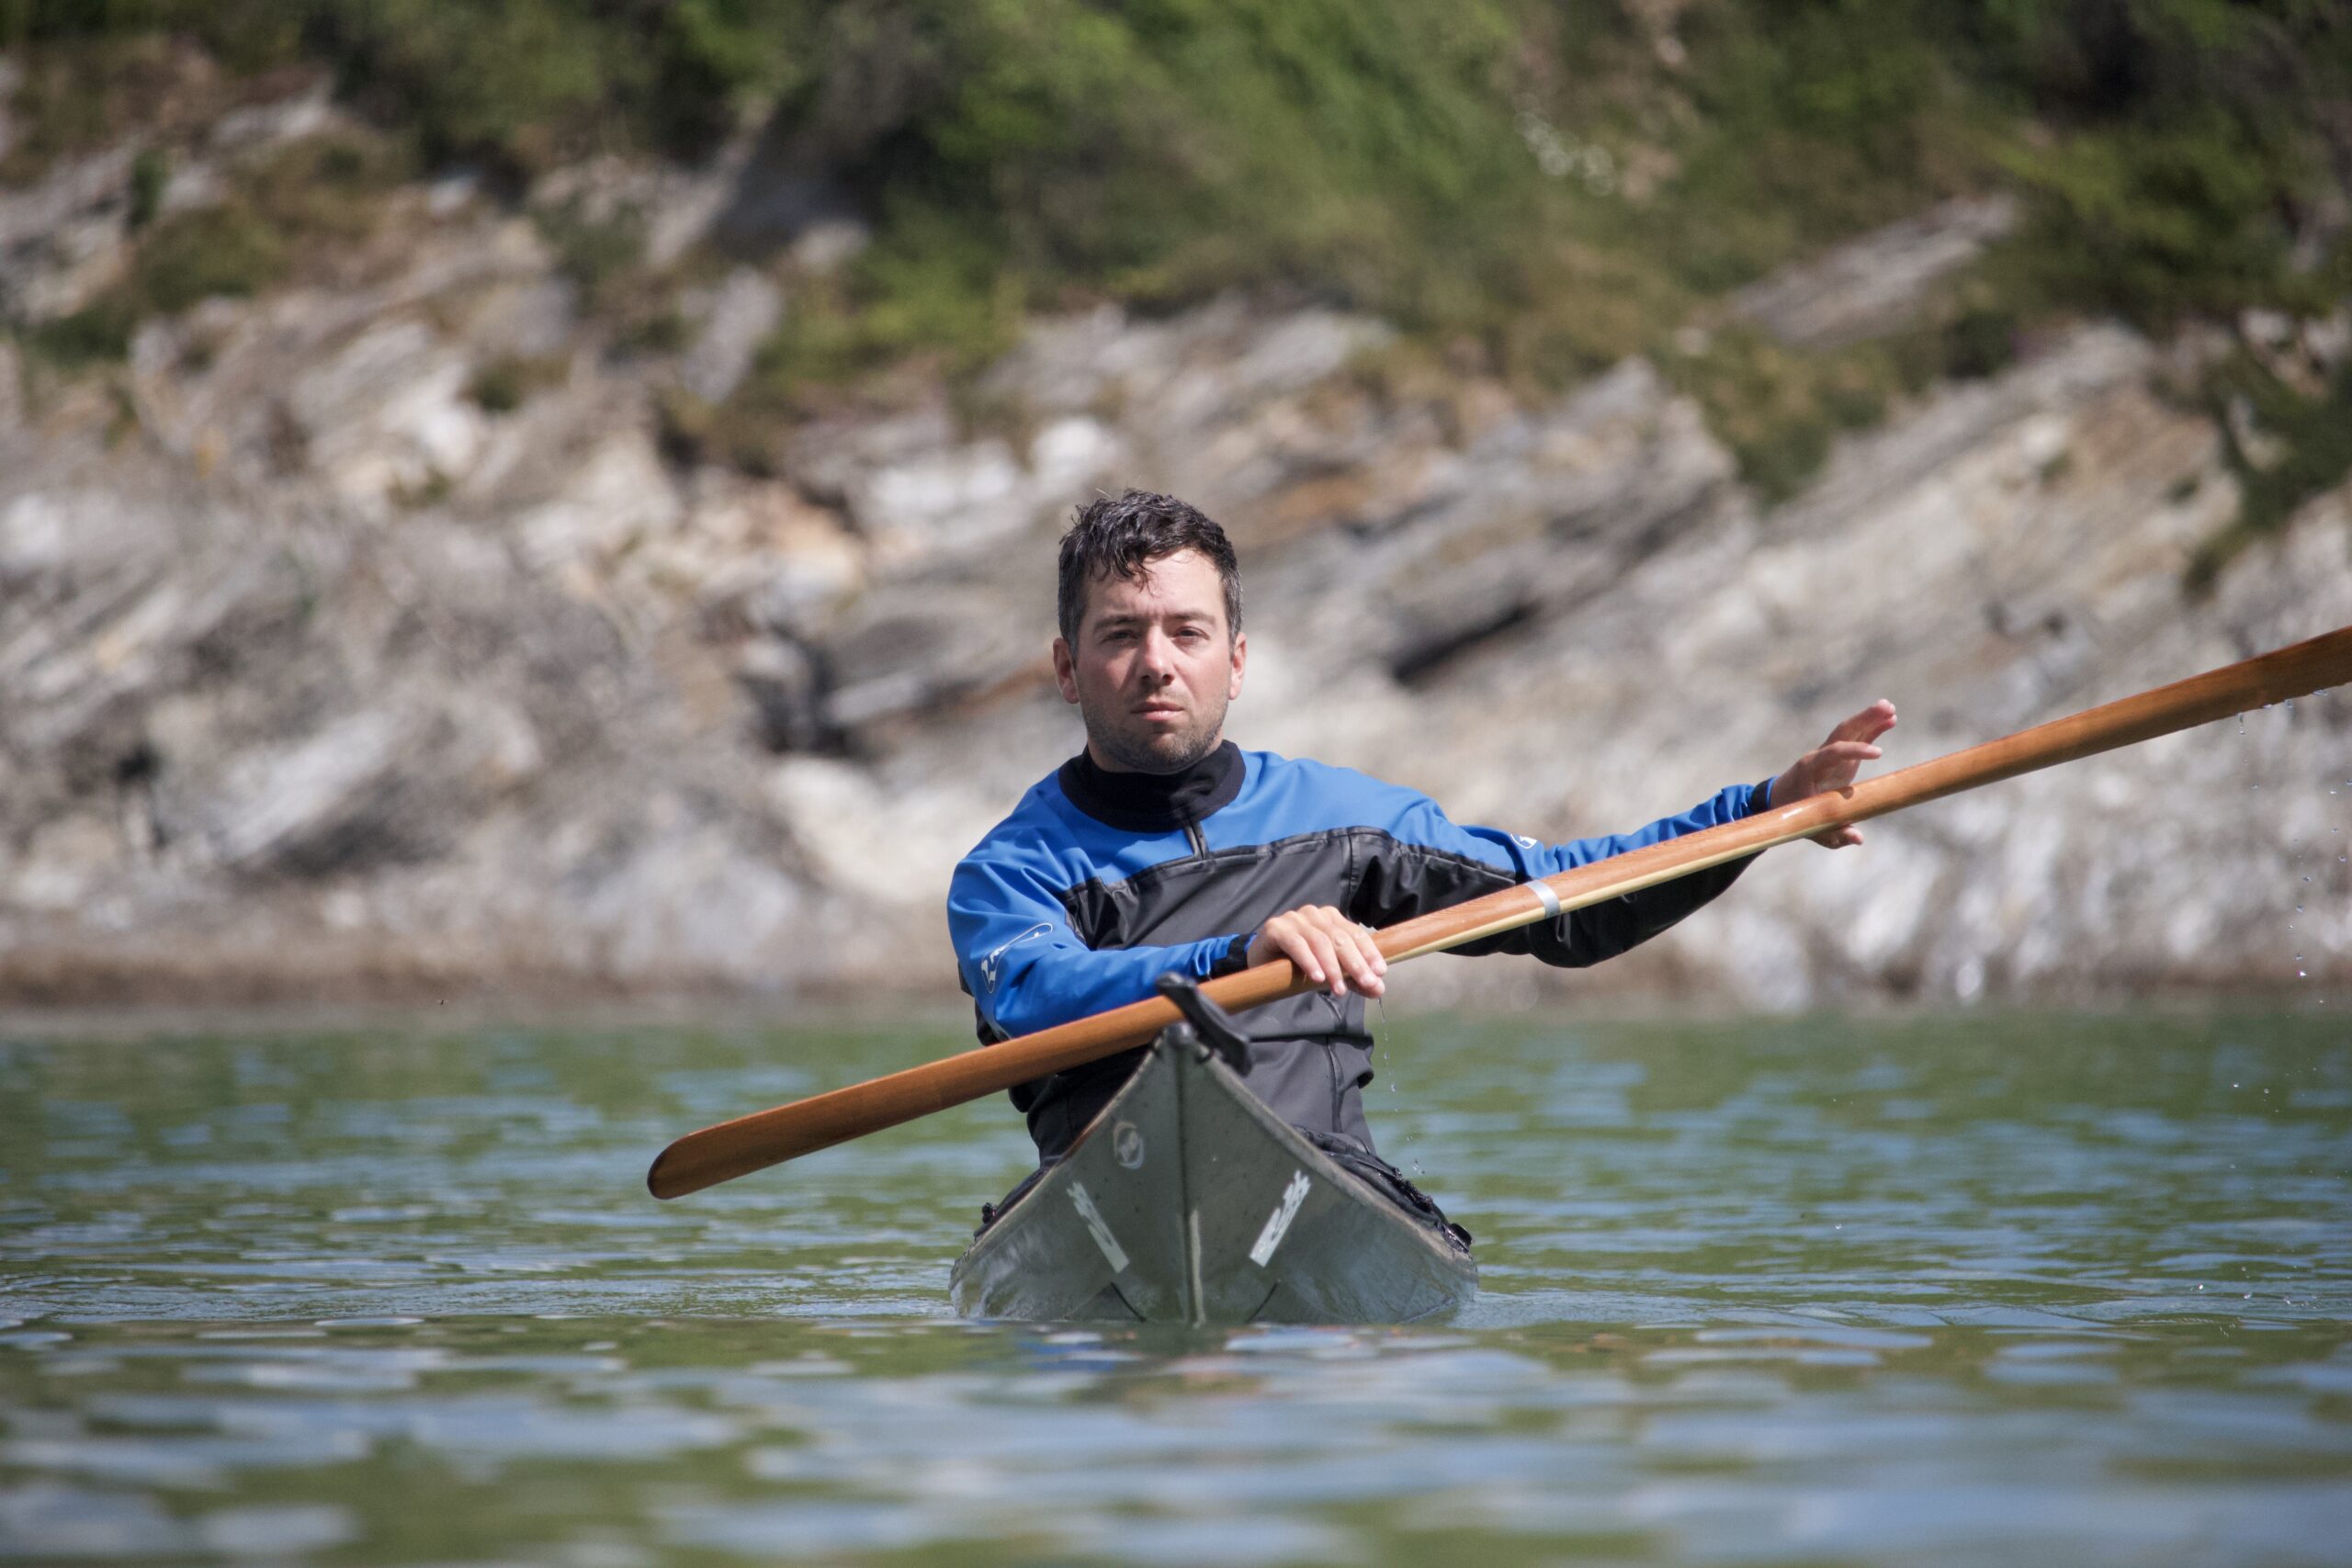
Reed’s Aquatherm tops have been a staple in my kit bag this season. Made from the brand’s distinctive waterproof, windproof and stretchy material, they offer a streamlined alternative to bulkier paddle jackets. I’ve spent several months using both the Aquatherm Long Sleeve Top (Royal Blue / Black) and the Aquatherm Fleece Long Sleeve Top (Navy Blue) in a range of conditions – coastal paddling, down wind runs, dry days and surf – and both have proved themselves in different ways.
The key difference lies in the lining. The standard Aquatherm top has a very light polyester knit inner coating, making it lighter and quicker to dry. The fleece lined version has a soft brushed inner for warmth and comfort. Both share the same outer layer: a smooth rubbery-feel UV stable coated polyurethane fabric that blocks wind and repels water impressively well for its thickness.
Wearing next to skin
I’ve worn both tops directly on the skin and over a rash vest and they’re versatile enough to suit either setup. The regular Aquatherm top feels slick and technical. It moves well and stays light even when wet, but it’s slightly more comfortable with a base layer underneath. On longer paddles, especially when working hard, I preferred the slight buffer of a rash vest. The fleece-lined version, on the other hand, feels like a true base layer. Softer and warmer straight away, it’s instantly comfortable next to skin, especially when pulling it on first thing. It’s a touch thicker, but still far from bulky.
Performance on the Water
One of the unexpected highlights of paddling in these tops has been the feel of wearing something more fitted and lower profile than a traditional cag. Whether I had the Aquatherm or Aquatherm Fleece on, the close fit reduced the usual rustle and flap of fabric in the wind, which can get wearing on long days. That skin-tight feel keeps the sound down, movement quieter and more streamlined – it’s a subtle thing but it makes a real difference when you’re trying to move quietly, stay focused or just enjoy the rhythm of the paddle. There’s also less material to catch or bunch around the elbows and shoulders during active paddling. That freedom of movement gives these tops a performance edge – whether you’re bracing, rolling or making precise manoeuvres in tight spots. They move with you, not around you. In short, they feel less like an outer shell and more like part of your paddling system. If you’re used to bulky cags and thick layers, the difference is striking.
Quick drying and packable
One of the standout features of both tops is how quickly they dry. The outer fabric sheds water fast and even on the move you can feel the surface drying out. That makes either option ideal for multi-day use – no soggy tops to wrestle back into the next morning.That said, the fleece version can hold a little more moisture if it gets totally immersed. On windless days it took noticeably longer to dry, especially at the cuffs and waist. Turning it inside out helped speed things up. On warmer or breezy days, both dried surprisingly fast.
In terms of packability, the regular Aquatherm wins. It rolls down small and stashes easily in a day hatch or dry bag. The fleece adds warmth but takes up a bit more space.
Day-to-Day Use and Layering
These tops have become a regular go-to for anything short of full winter conditions. The standard Aquatherm top layers neatly under a cag or windproof shell and feels agile enough to wear on its own in spring or early autumn. The fleece-lined version came into it’s own on chillier days and keeps you warm when out of the boat over lunch or in the car park. It offered a touch more insulation under a buoyancy aid without ever feeling heavy or restrictive. Over several months of regular use both held their shape well. The seams remained soft and the fabric hasn’t stiffened or stretched out, even after repeated soaking and drying.
Fit and Sizing Fit
It’s worth noting that both of these tops run a little smaller than your standard outdoor sizing. I usually take a medium in most kit but found the large gave a more comfortable fit here – especially when worn over a rash vest. The snug cut helps with performance but it’s easy to underestimate the fit if you go off your usual size. I’d definitely recommend checking the sizing guide on the Chillcheater website; or better still, dropping them an email with your measurements. They’re helpful and know the gear inside out. A well-fitted top makes all the difference to how these perform on the water.
Final Thoughts
If you’re looking for lightweight, practical paddling tops that dry fast and cut the wind, both of these do the job well. The standard Aquatherm Long Sleeve Top is hard to beat for fast-drying versatility – ideal for warmer days, active paddling and trips where space and weight matter. The Aquatherm Fleece Long Sleeve Top brings an extra layer of comfort and warmth, making it better suited for cooler conditions or low-effort days on the water. Realistically, having both gives the flexibility to mix and match depending on the forecast. They’re no-fuss bits of kit that punch above their weight, especially if you’re after gear that dries fast and packs small.
Welcome to An Mor Kayak - The home of Cornish Sea Kayaking
Hello!
I wanted a space to create some writing away from direct social media. I think many of us are tired of seeing AI generated adverts and getting stuck with the endless doom scroll. This is a place for something a bit more substantial, something for the community and to promote Sea Kayaking in Cornwall.
This was also a chance to create something entirely from scratch – from the brand and logo to the blog layout. It’s been a true test of the skills I’ve acquired over the years working on the Sea Kayaking Cornwall website and other projects. The palette is a deliberate nod to our identity: the black and white of St Piran’s flag, the red of our nation’s bird; the Cornish Chough and the gold as a tribute to Cornwall’s rich mining heritage.
“The Home of Cornish Sea Kayaking” – is it a coincidence that cornishseakayaking.com was available and redirects you here? Either way, it is a bold claim for a personal blog, but I would like to help improve the Cornish sea kayaking community. In a club, professional or business sense, it is easy to “keep to your own patch,” but having seen how paddlesports operate in other parts of the world, I truly believe we are stronger together.
‘An Mor’ is Cornish for ‘The Sea’. Since there isn’t a traditional Cornish word for kayak, we simply use the modern term. I’ve settled on An Mor Kayak. Quite literally: The Sea Kayak.
What to expect here
Moving forward, I’ll be using this space to share these main things:
-
Kayak Hacks: Practical tips on technique and gear maintenance developed over years of coaching.
-
Honest Reviews: Real-world feedback on the kit that actually survives the Cornish coast.
-
Continuous Professional Development (CPD): Opportunities and Reviews for Outdoor Professionals.
-
Photography Guides: Tips for capturing the unique light and landscape of our coastline.
Integrity is important to me. The kayaking industry is small in comparison to some other sports and you quickly meet the people behind the companies and brands. While I hold some sponsorships and act as a dealer for various products, I am not a large scale shop.
My rule is simple: all reviews on here are based on my personal opinion. I wouldn’t recommend a piece of kit or be wearing it myself if I thought it was substandard. I am out on the water day in, day out, so the gear has to work. If it’s on this site, it’s because it has earned its place in my kit bag.
The goal is to post at least once a month, slowly adding to the site overtime and seeing where An Mor Kayak develops.
Beyond the blog
If you are looking for more than just reading, head over to The Chart Room. I have started making my personal library of coaching resources, kit lists and safety guides public. They are there for individual paddlers and fellow providers to download and use to help keep our community safe and informed.
If you find any information useful on the site or would like to use a resource in a commercial or club setting, consider joining us for a course at Sea Kayaking Cornwall, making a donation or purchasing something from the shop. Any profits go back into running and updating the website.
Thank![]() s for stopping by. I’ll see you on the water.
s for stopping by. I’ll see you on the water.
Cheers, James